🐰 CHECK OUT OUR EASTER COLLECTION 🐰
🐰 CHECK OUT OUR EASTER COLLECTION 🐰
The Gelato Lab Wall Art
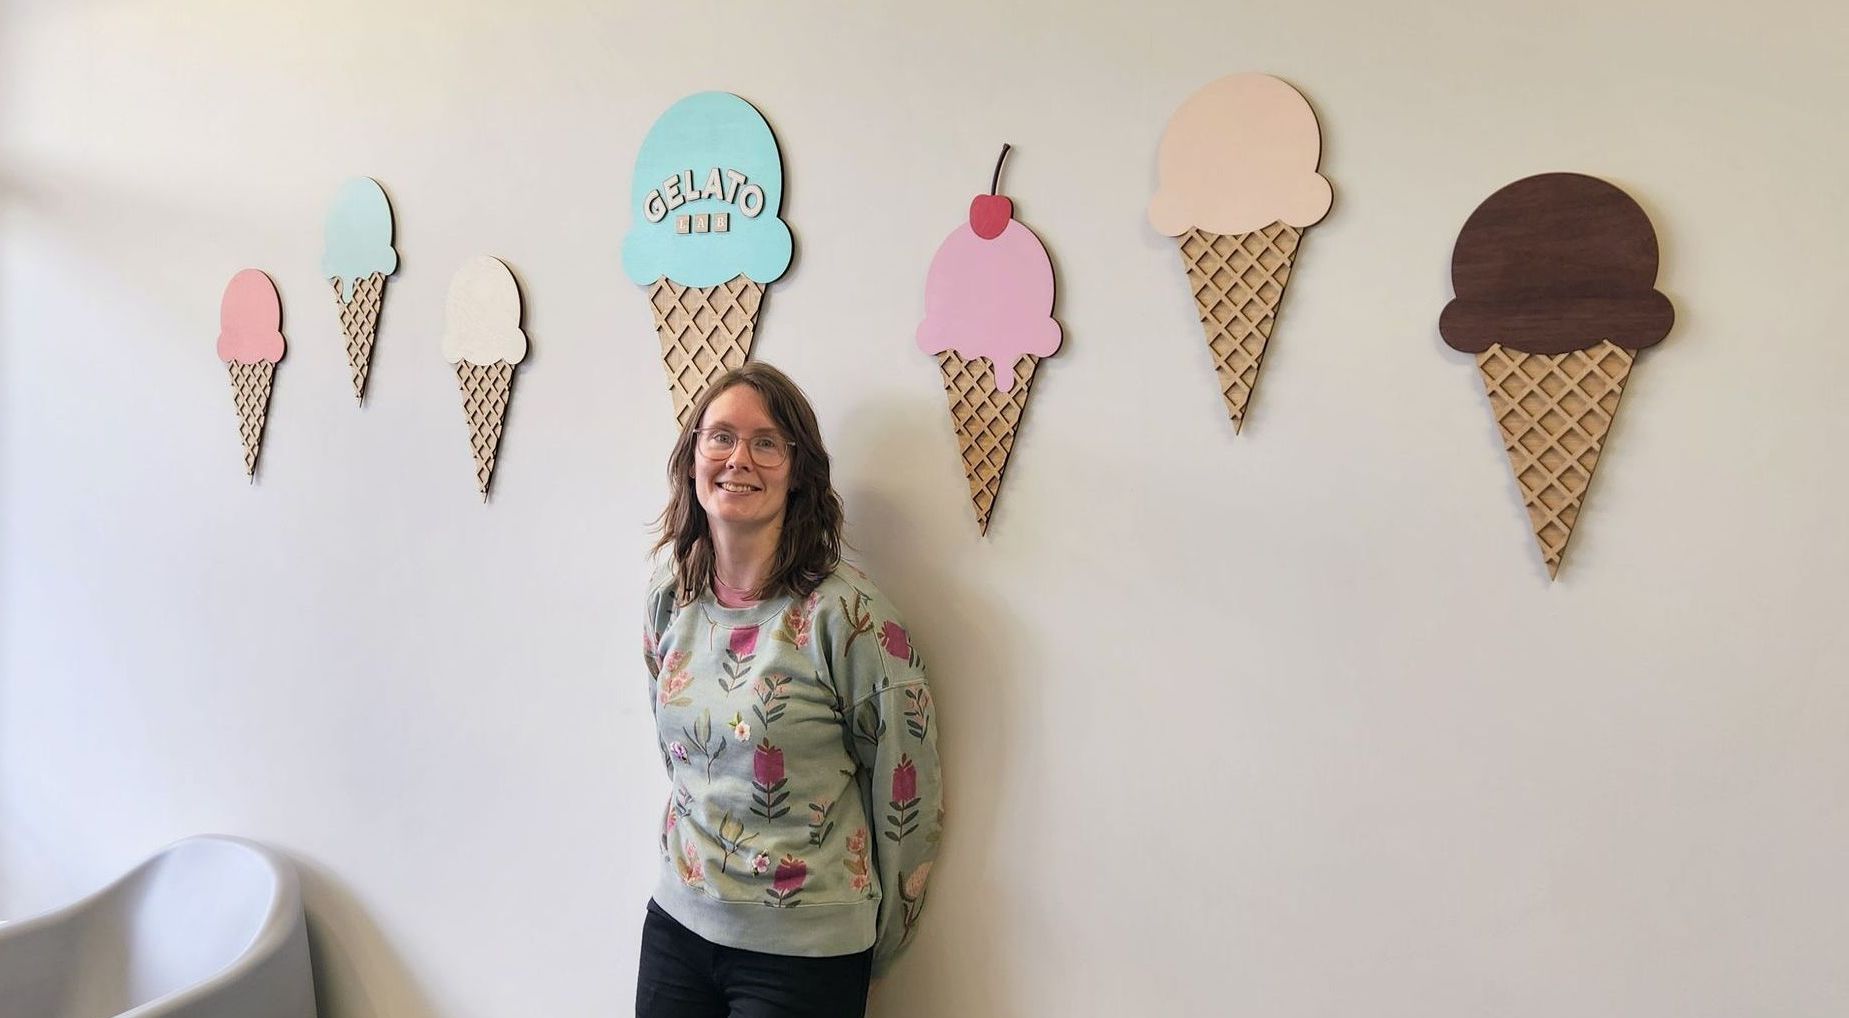
We were very lucky to be asked by our friends at The Gelato Lab to design and craft a series of wooden gelato wall artworks to brighten up their new shop space. We loved this project from start to finish. Here we share with you our process, from the initial digital concept design to the final result.
Digital Concept Design

We started by designing a range of gelato cones and flavours and arranging them in a fun but tidy manner. We presented our concept to Pippa, and after a few colour tweaks and a literally adding a cherry on top (to reference their top selling sour cherry flavour), she gave us the go-ahead.
Laser Cutting File Setup
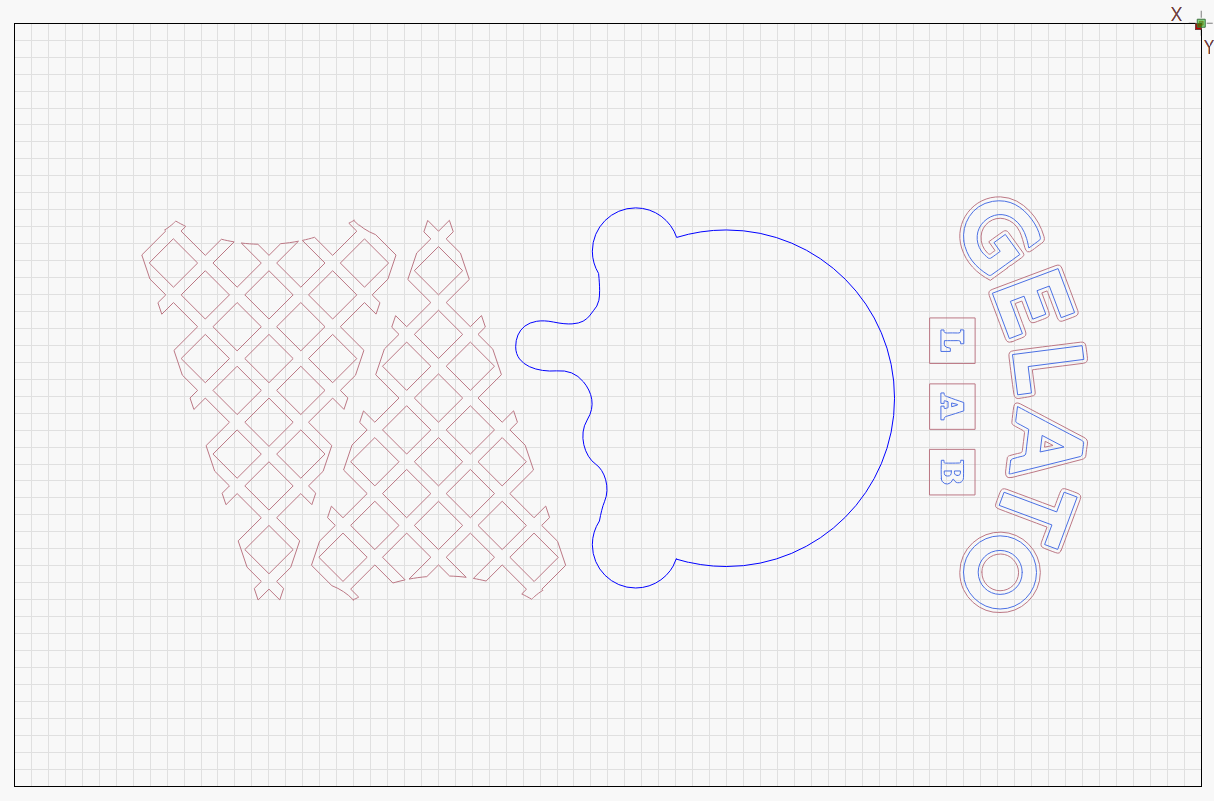
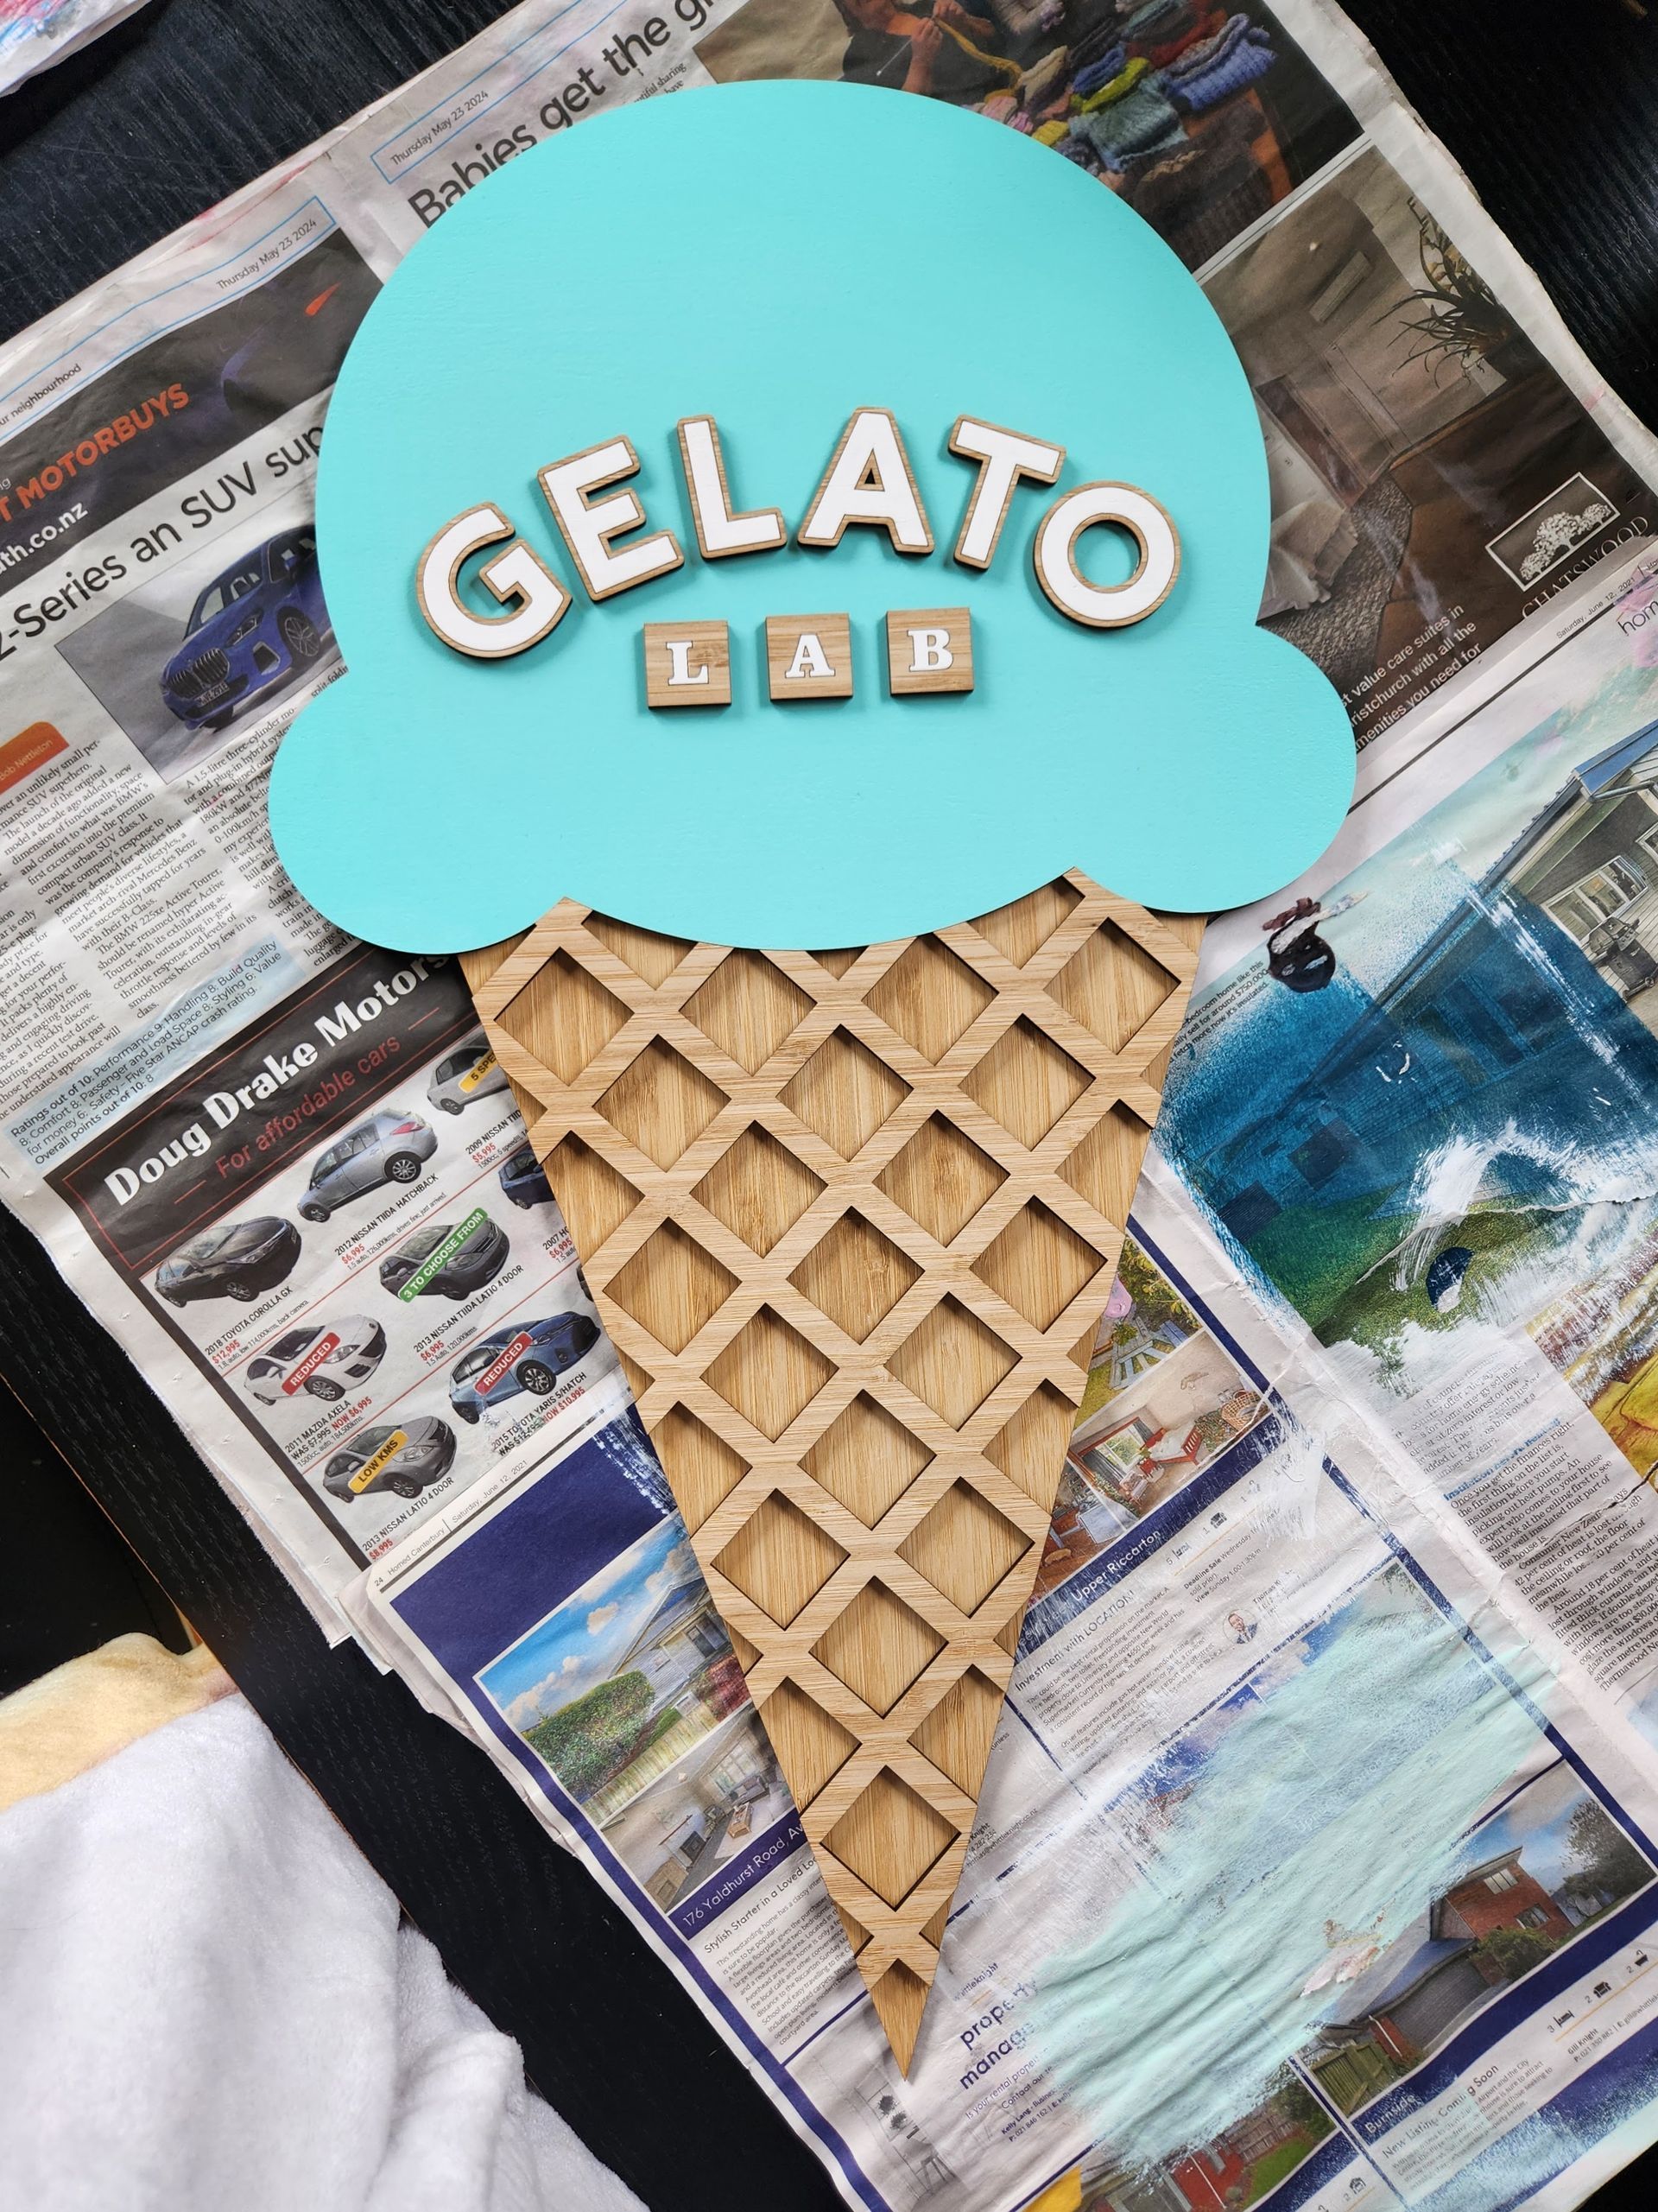
As we had already designed our gelatos in Adobe Illustrator, a vector-based design program, we were able to use our existing concept design to create our laser cutting files. To achieve the 3D texture we desired for the waffle cone and make the painting process easier, we decided to split each gelato into several pieces and two layers, which would then be glued together. We imported all the different pieces into Lightburn, our laser cutting software, and here we allocated a different colour to represent the different speed and power settings required for each type of wood and line depth. In the example above, the bamboo wood waffle cones were allocated different settings to the poplar wood gelato pieces, as poplar wood is much easier to cut through.
Laser Cutting
Once our laser files were set up, we could prepare our boards with varnish and masking tape before laser cutting all the different pieces. Once each piece had been cut, we needed to peel the masking tape off. The masking tape prevents leaving unsightly burn marks on the wood.
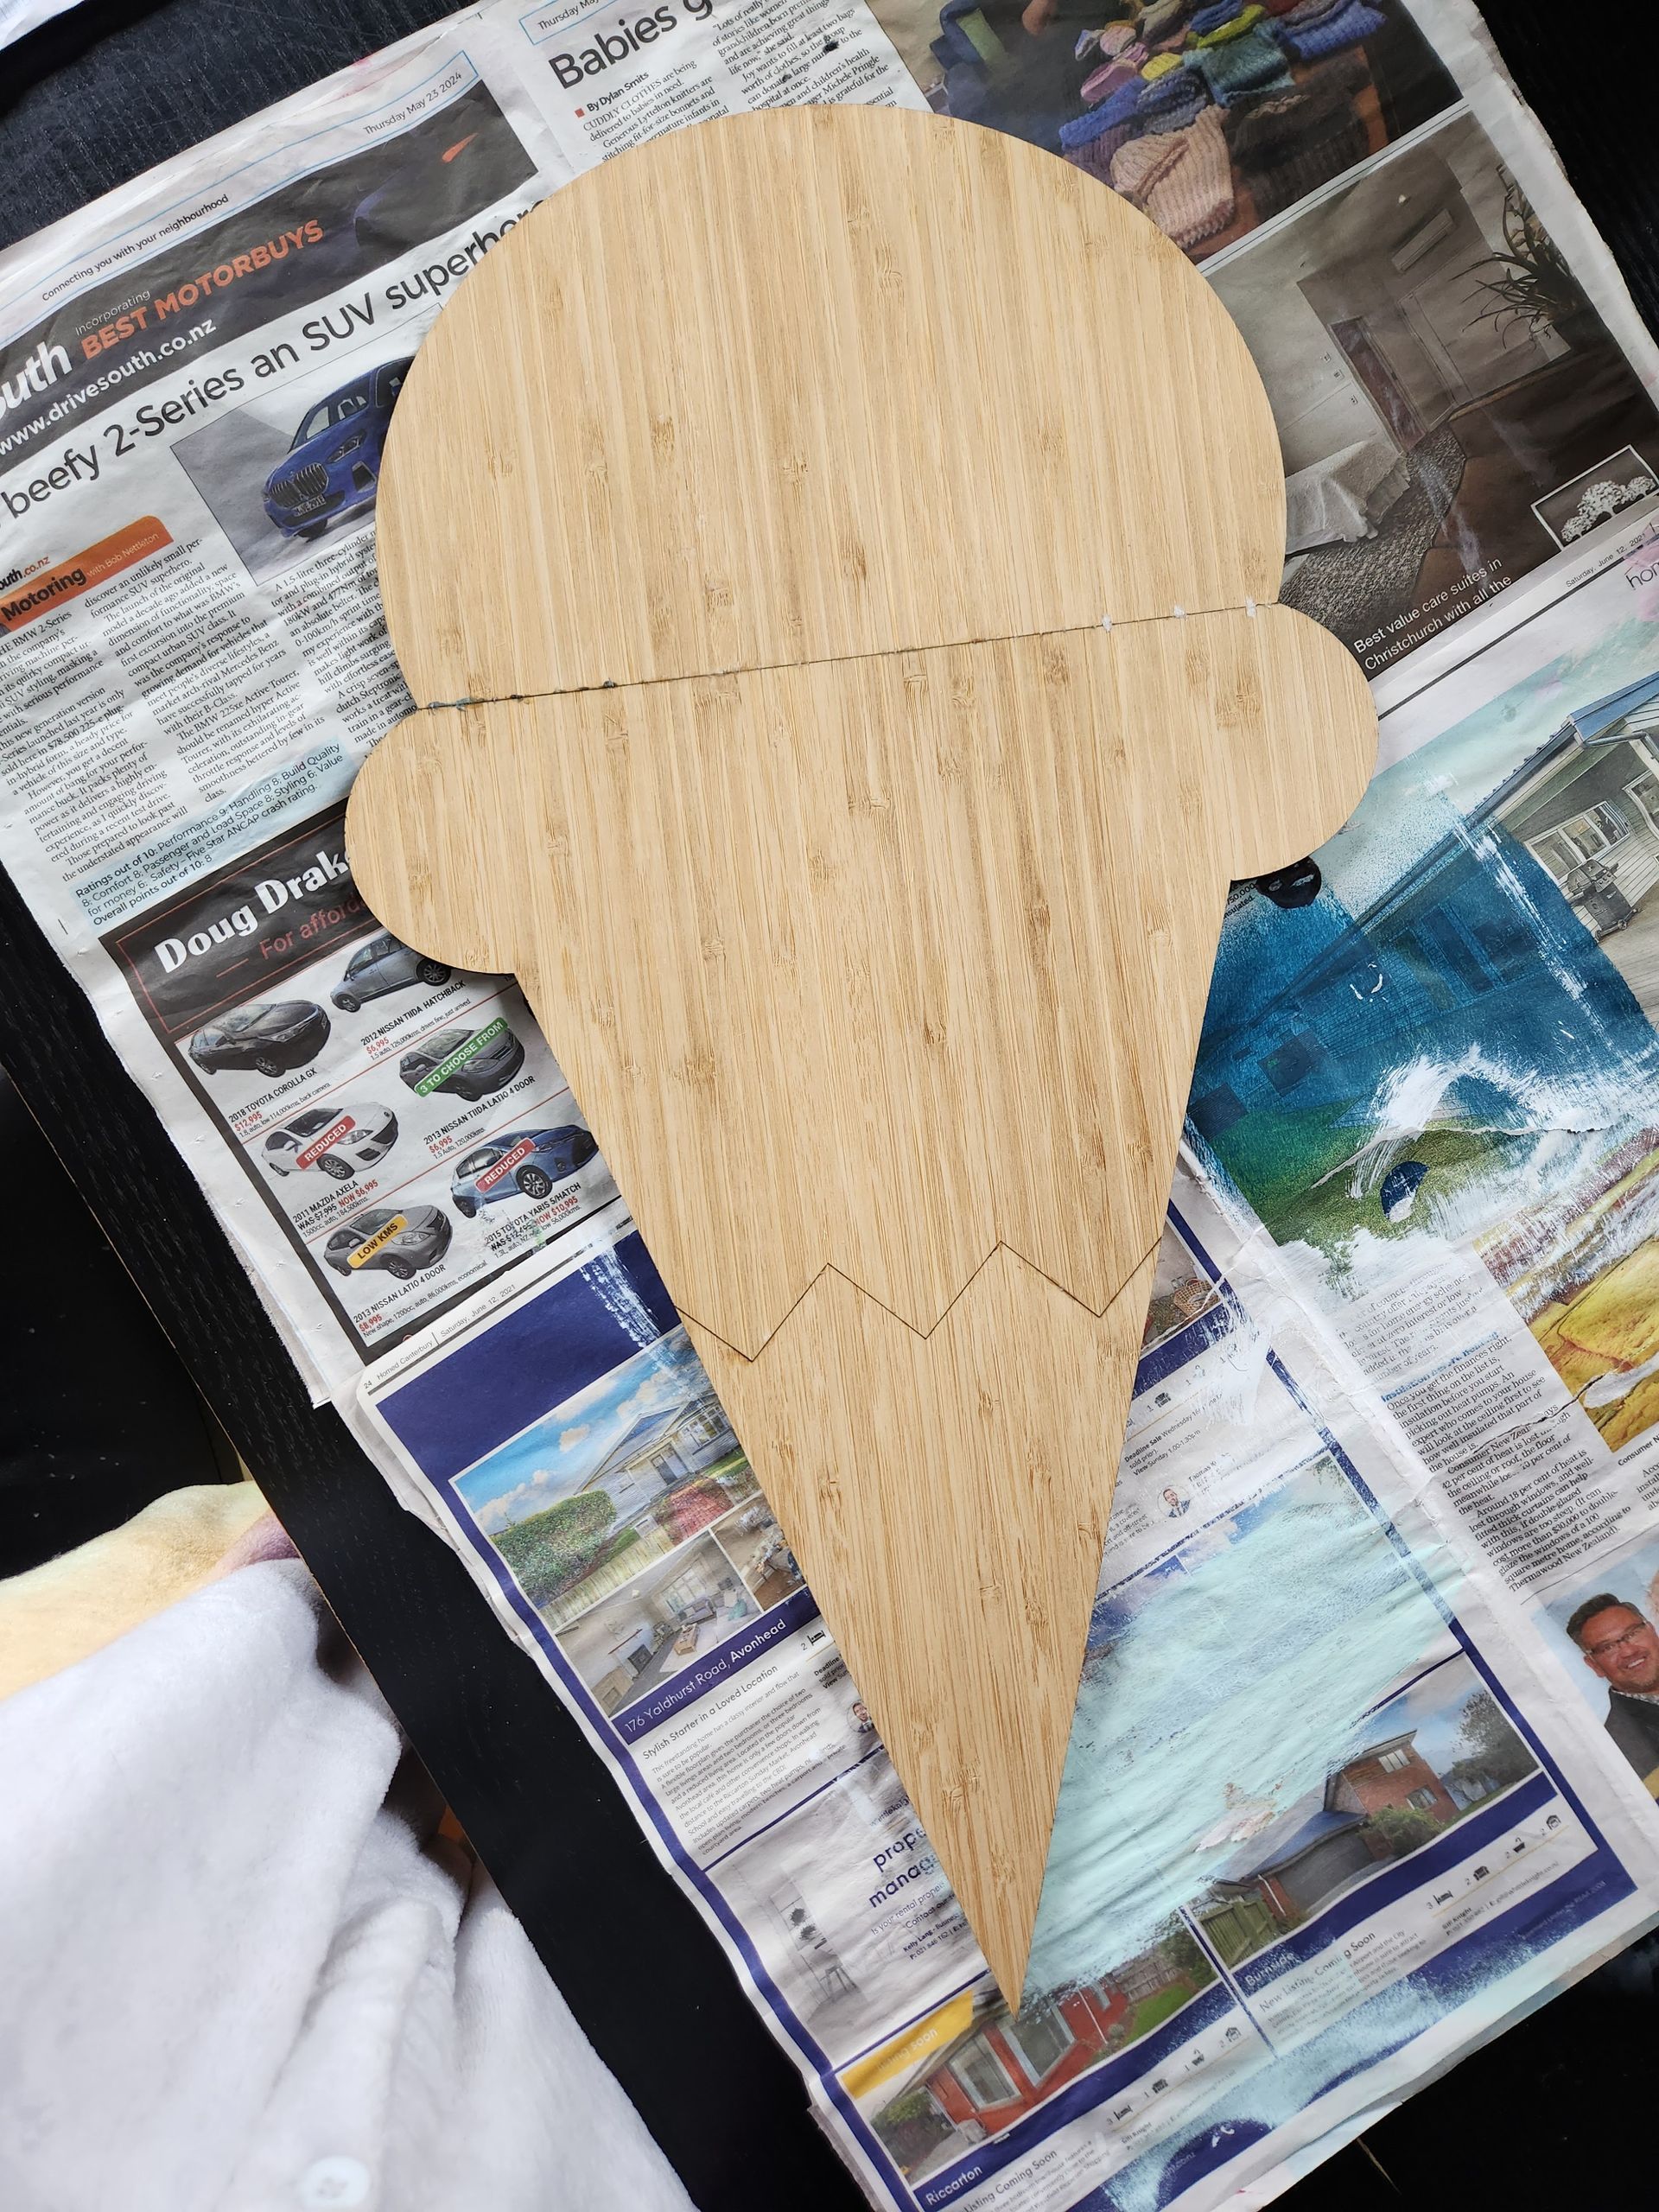
We needed to consider wood-grain direction for each piece, and decided that the base bamboo layer needed to have a different grain orientation to the top bamboo layer to help give the waffle cone contrast and interest.
Painting
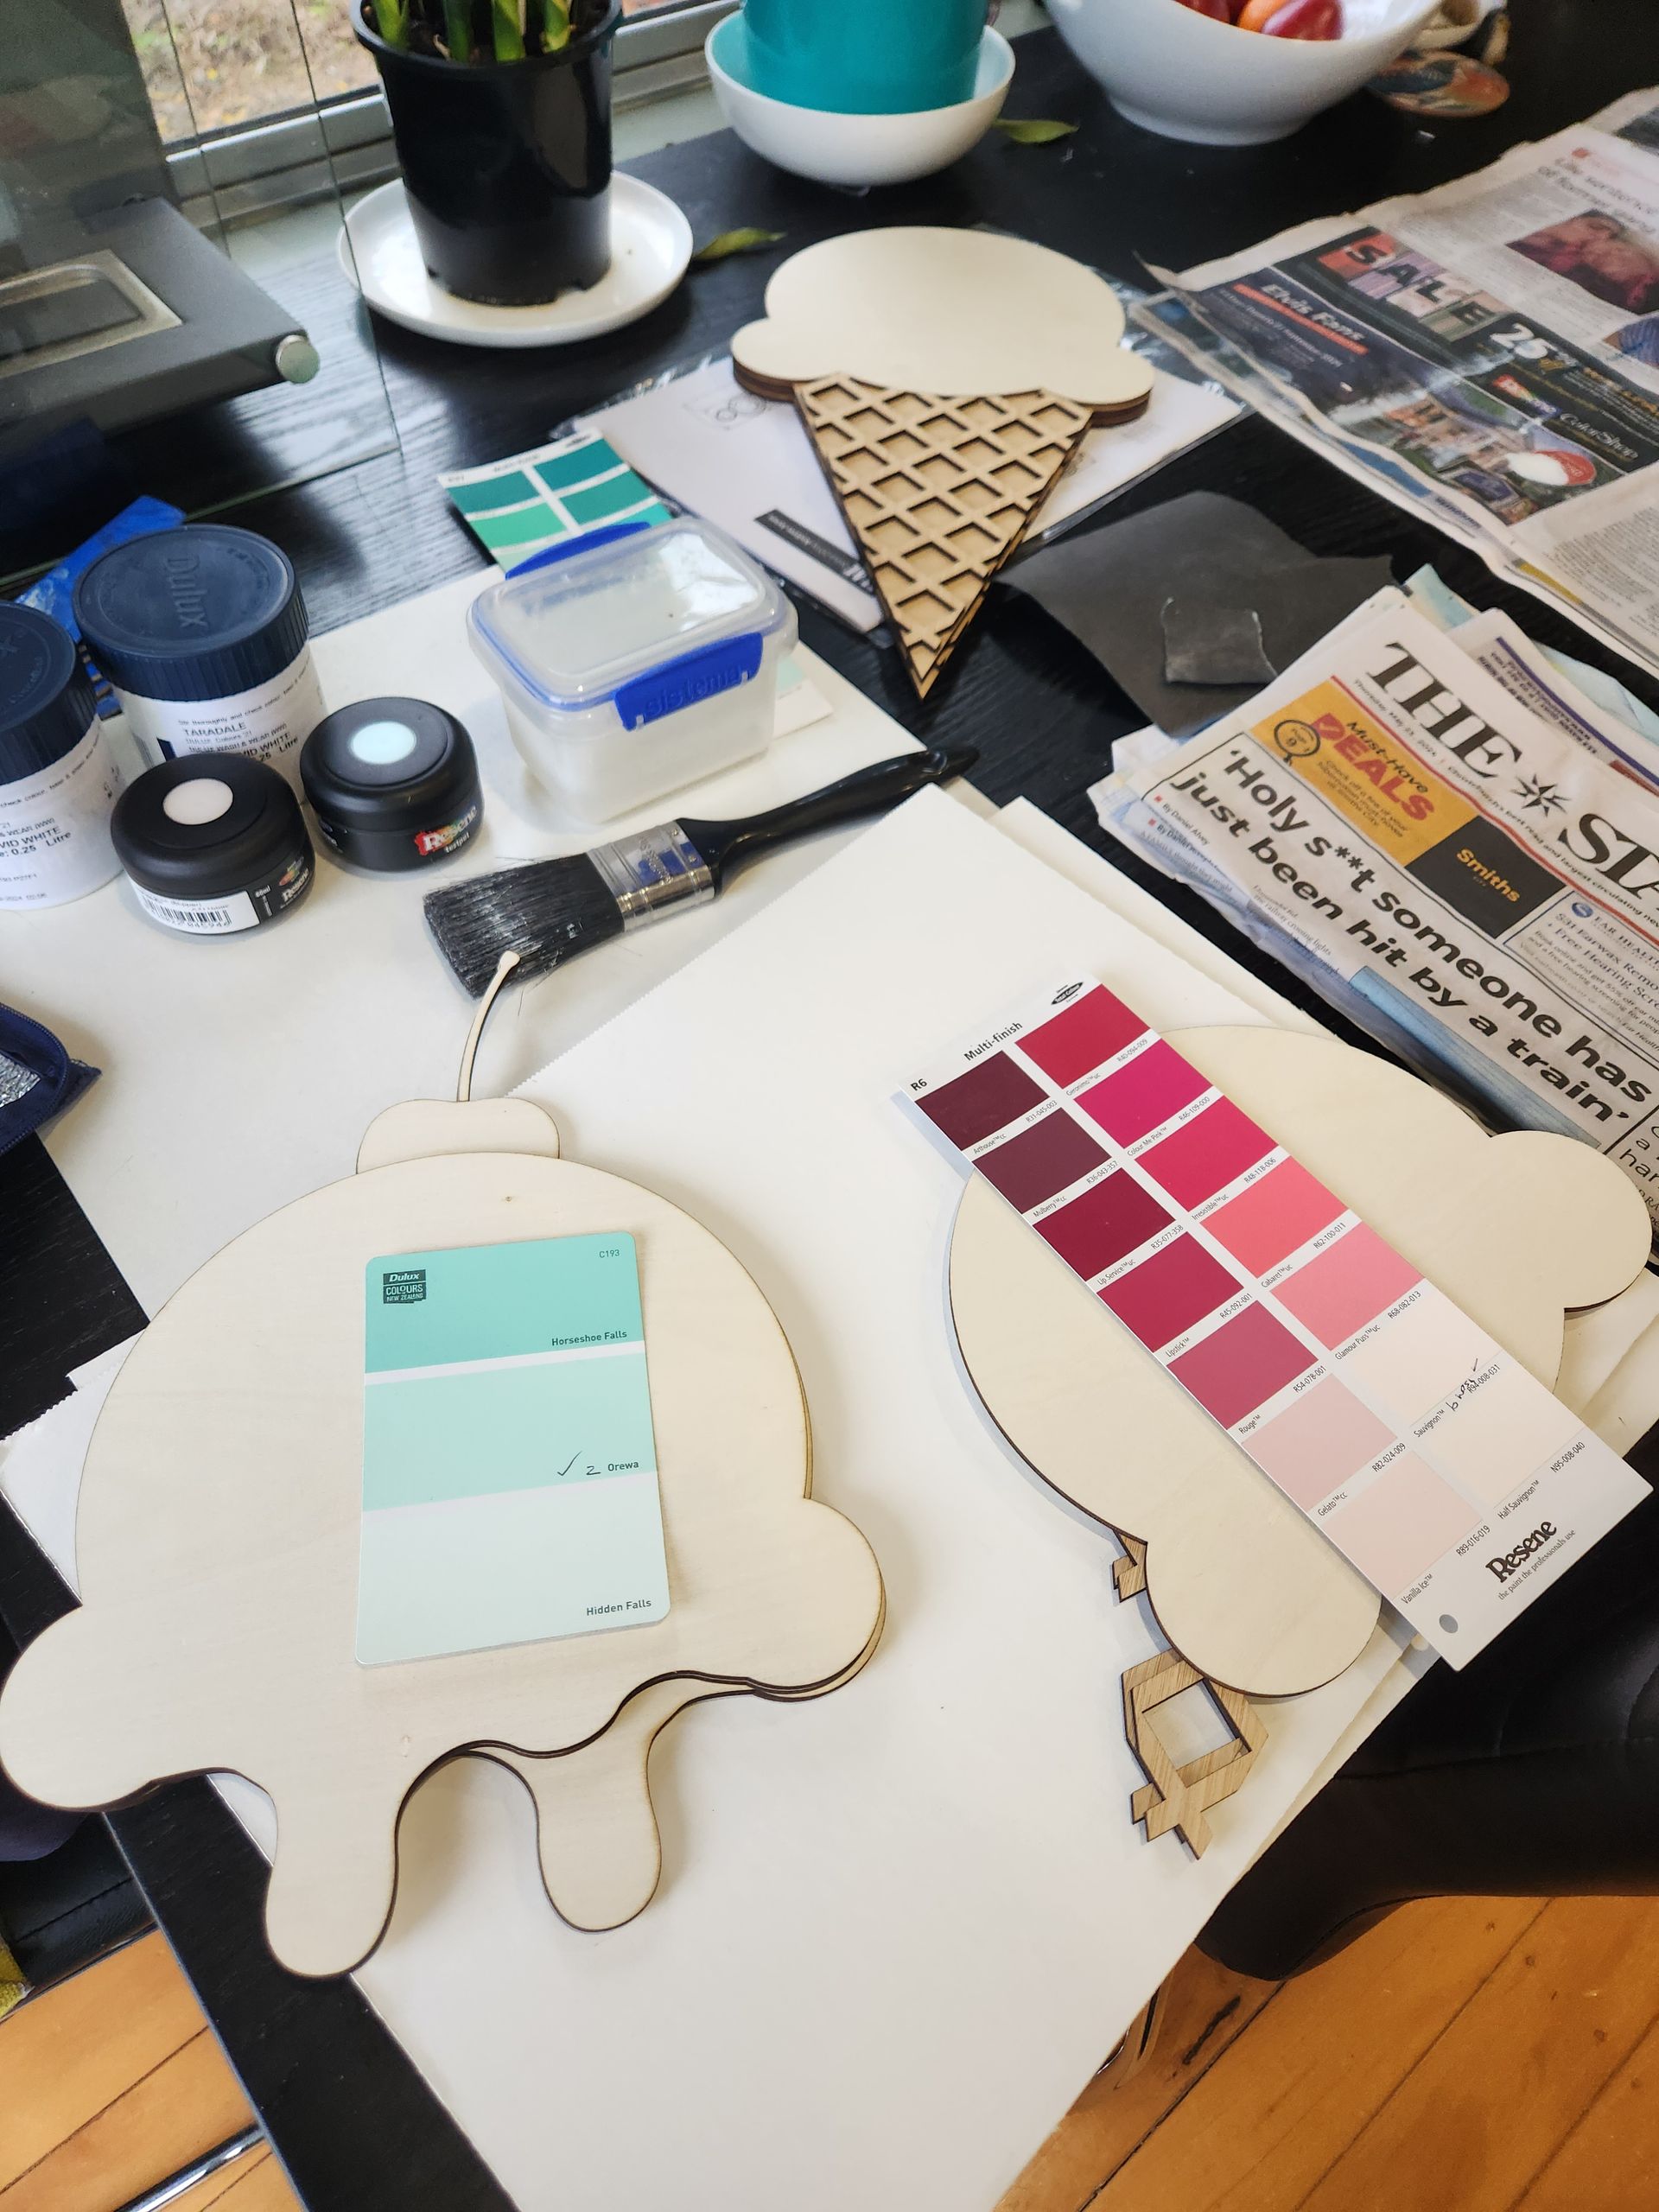
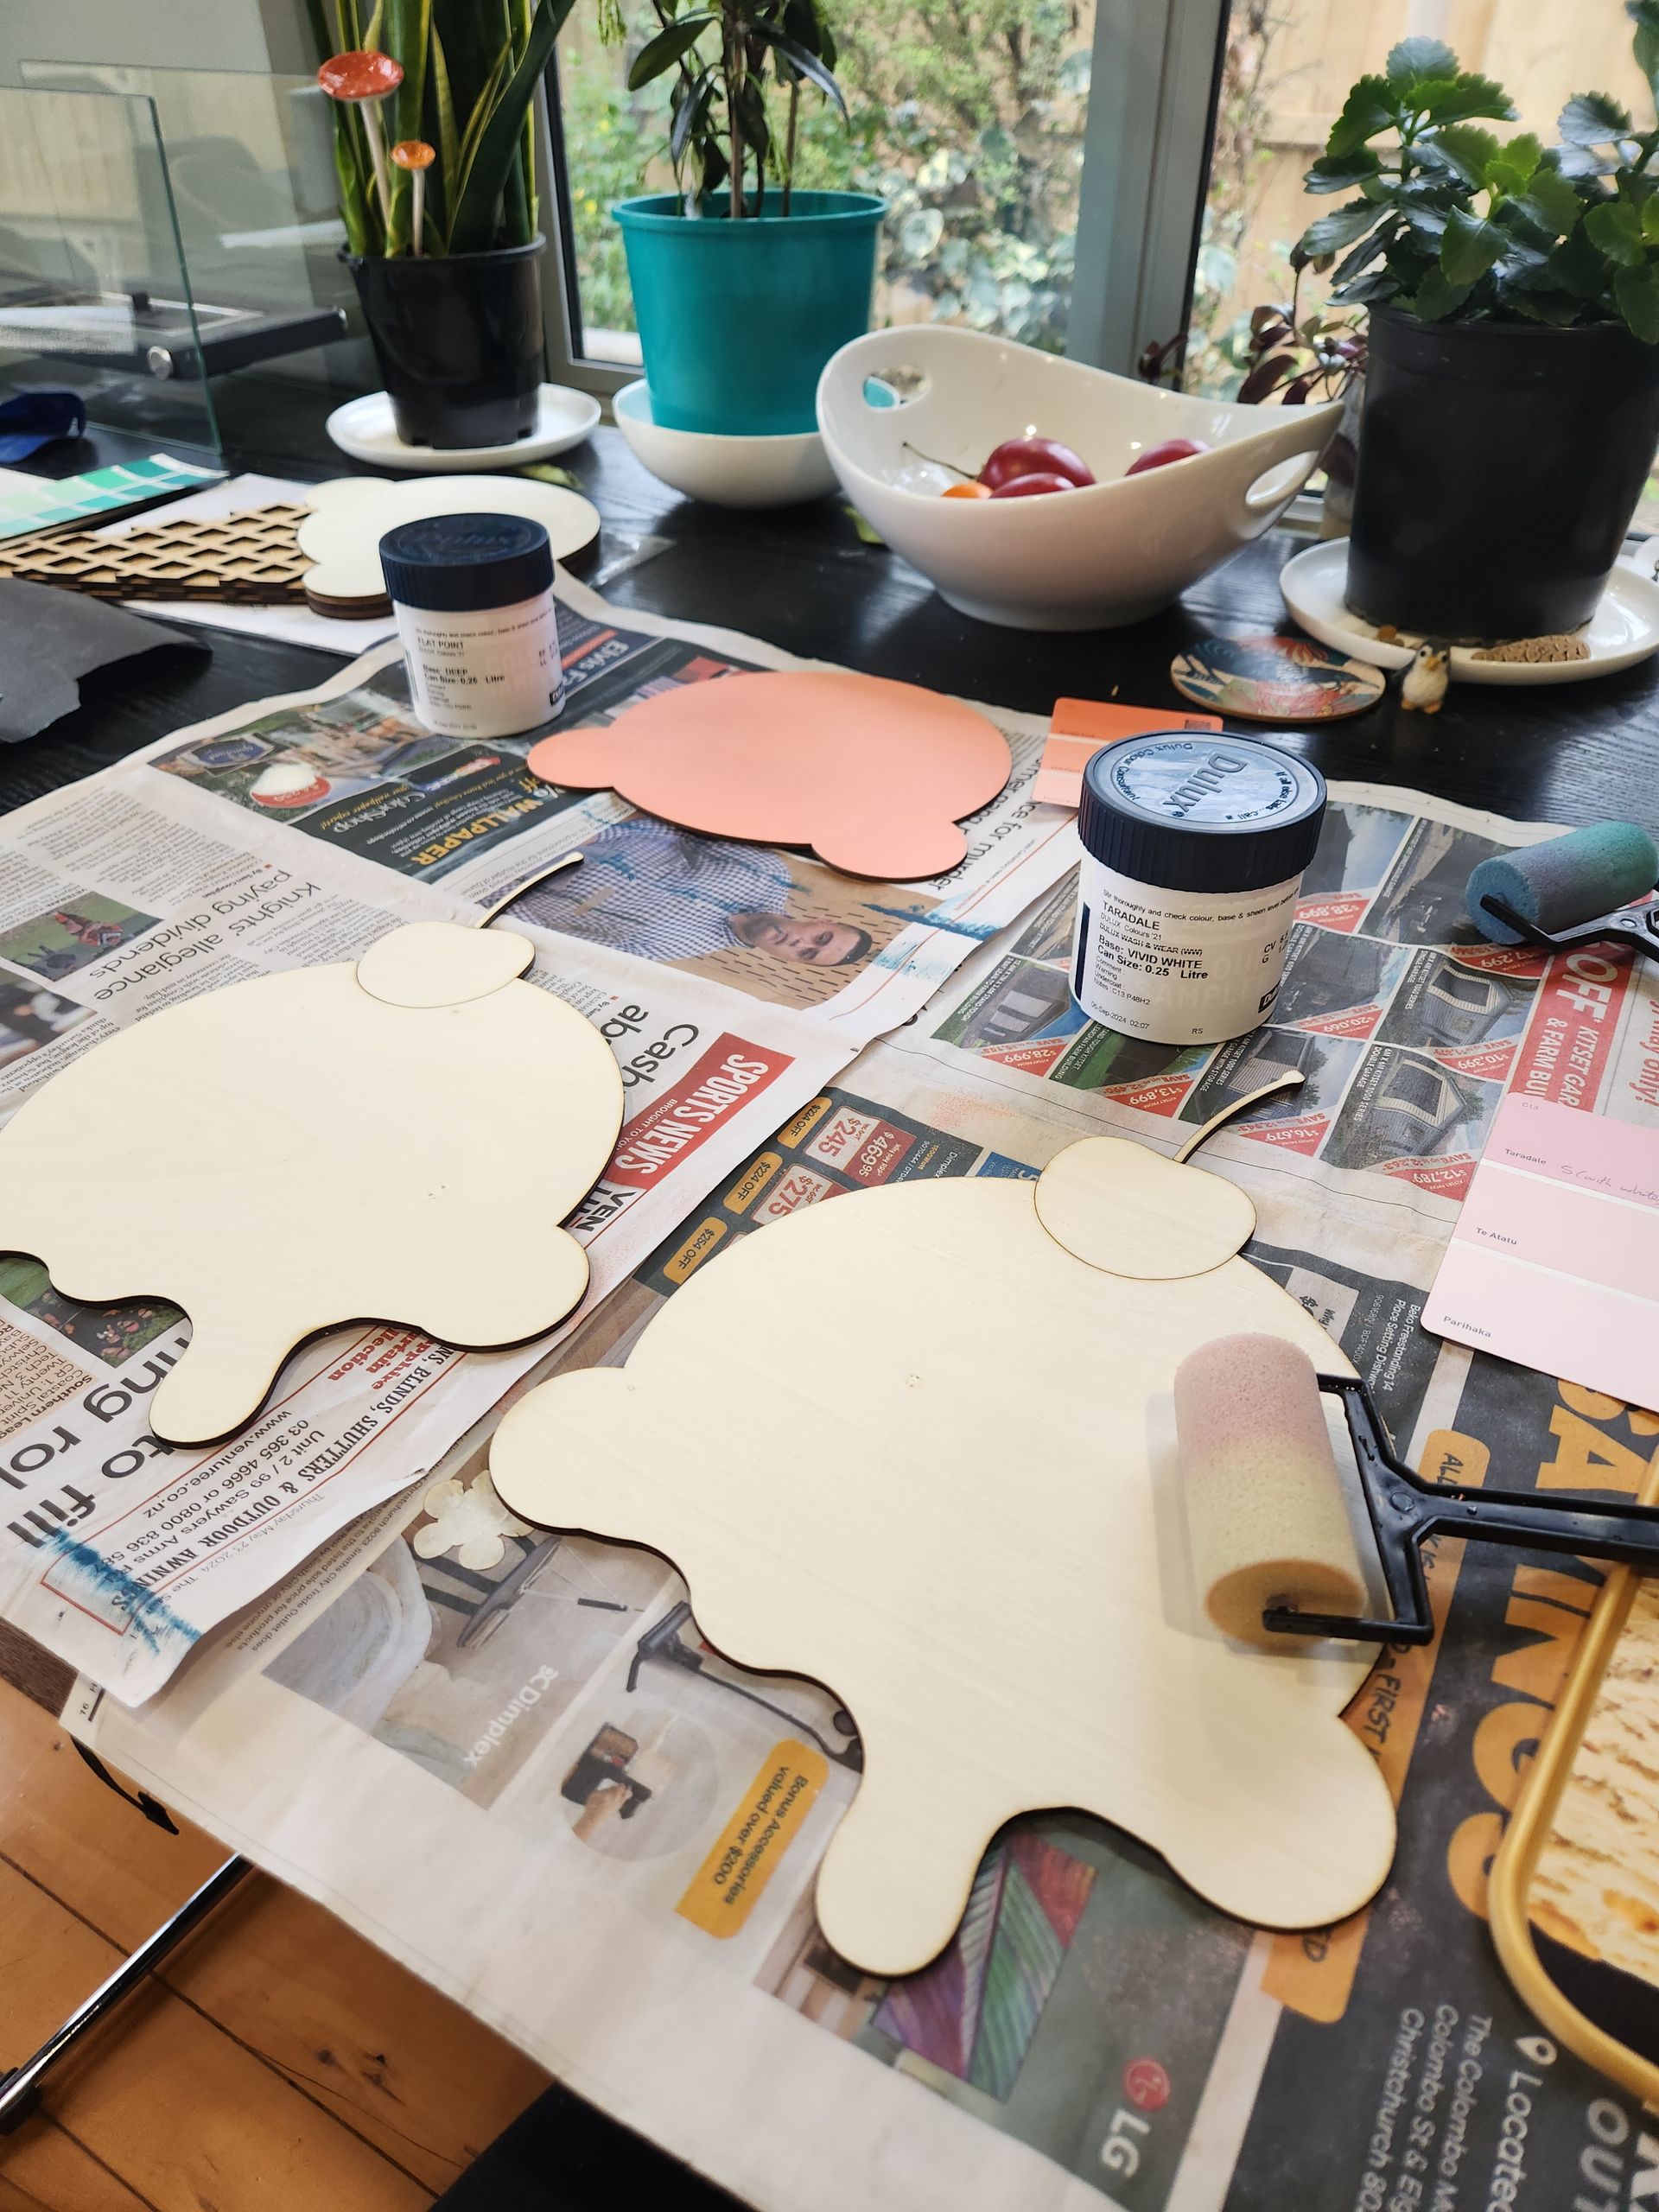
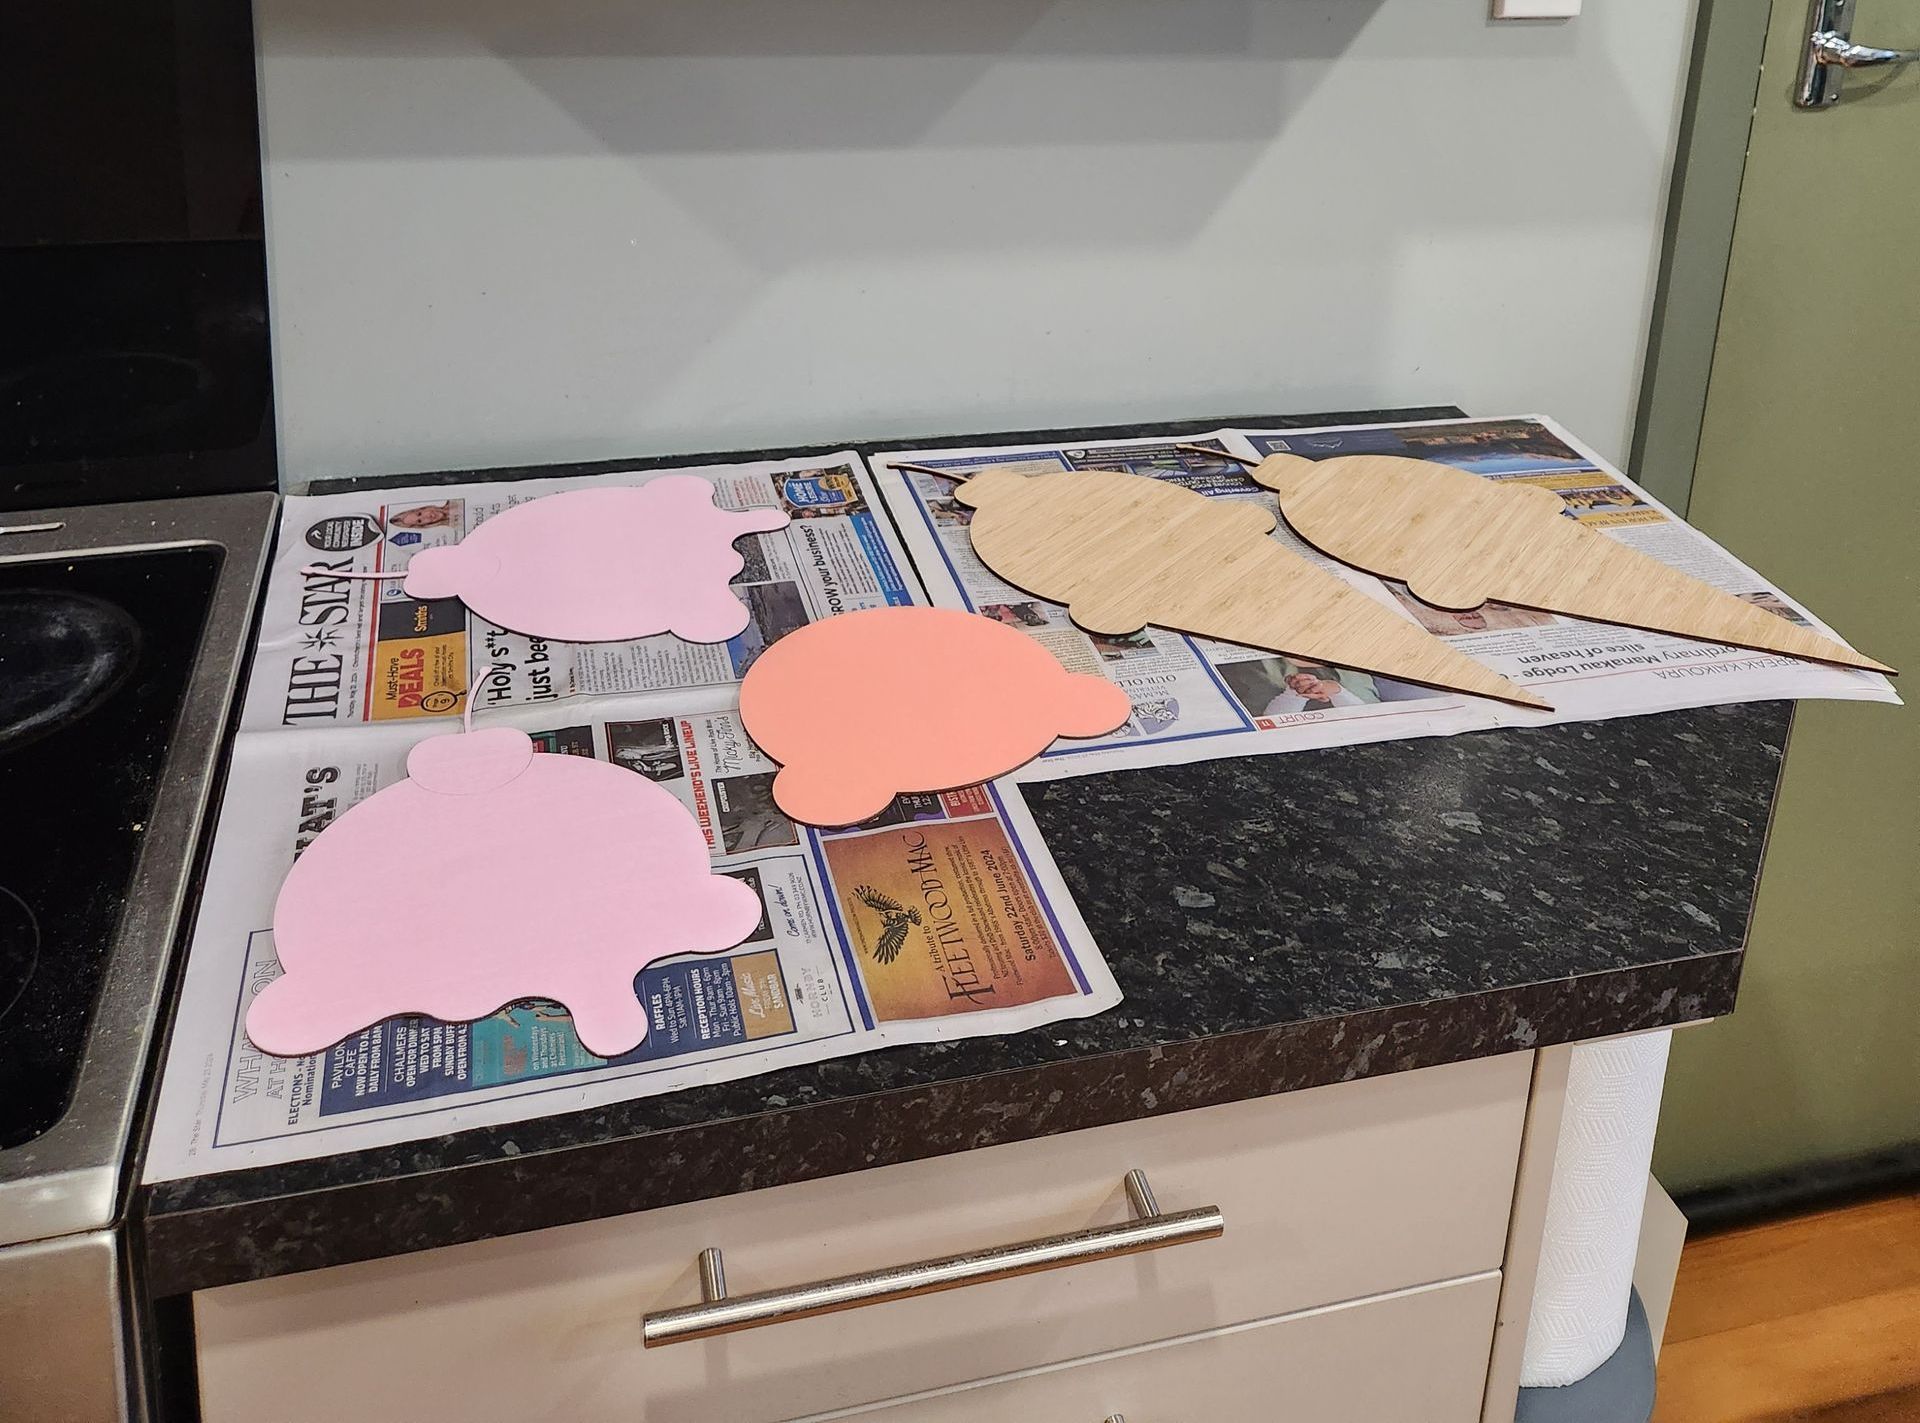
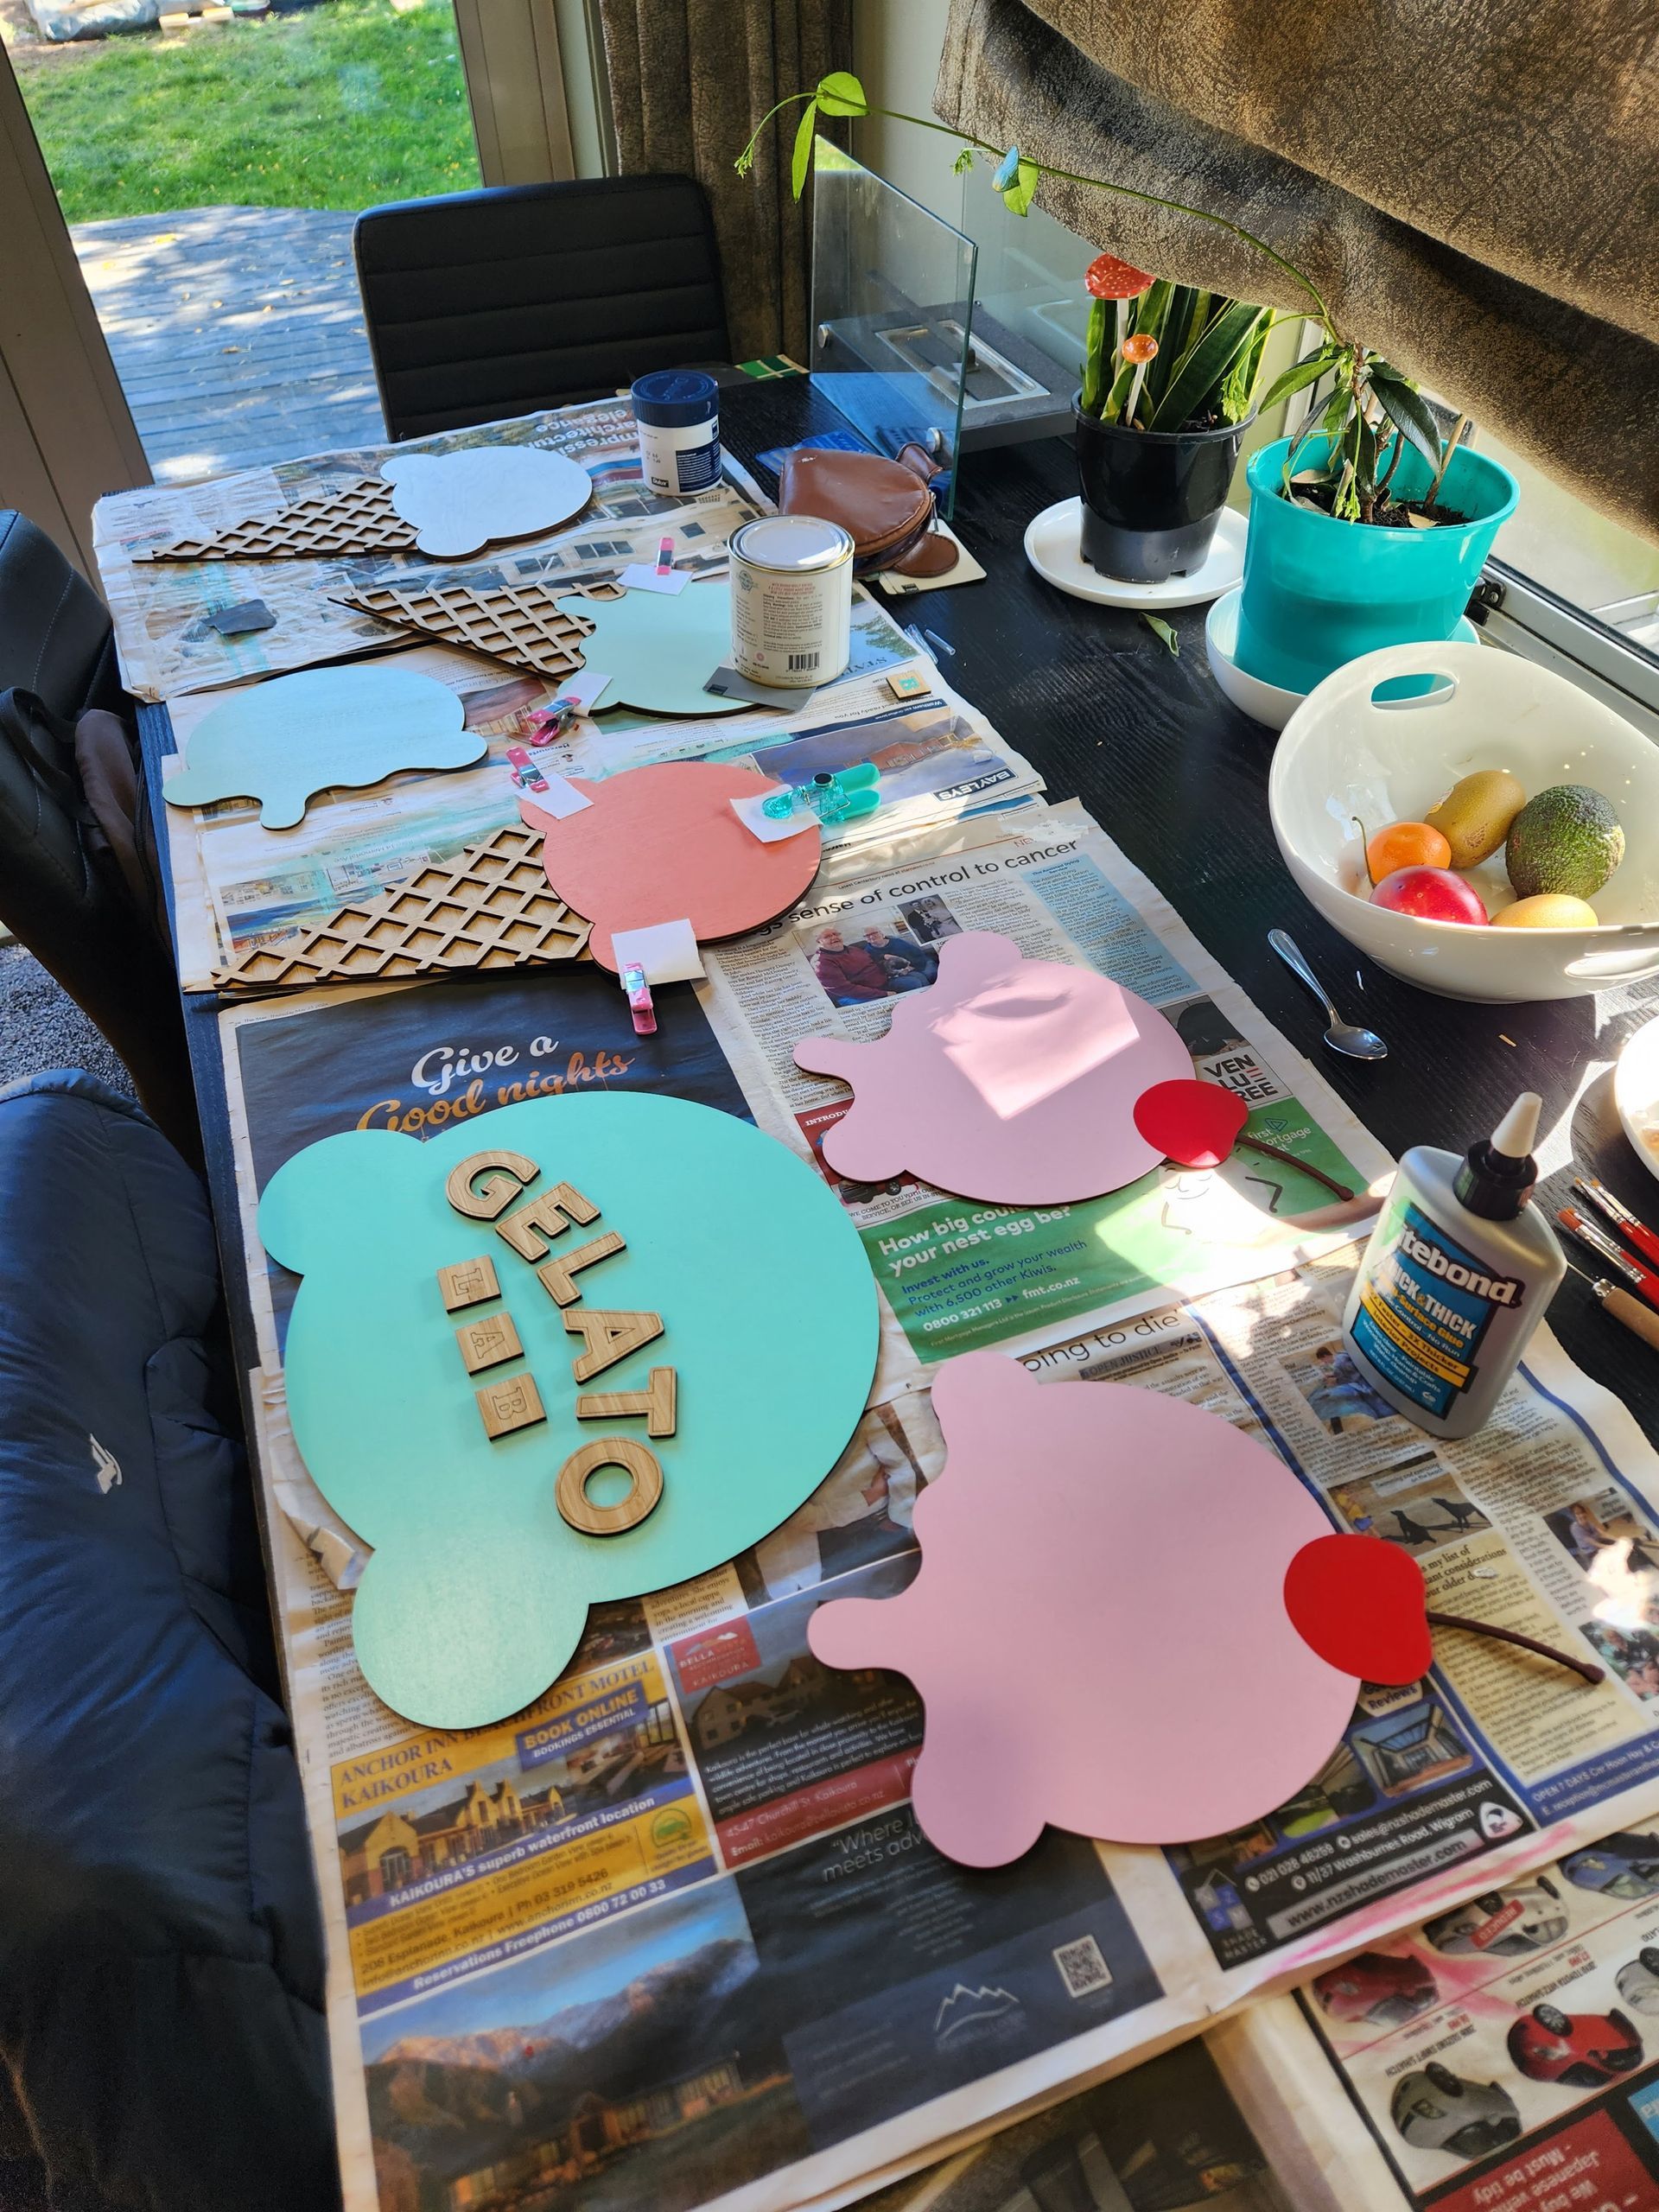
We colour matched our digital concept design to paint colours from both Resene and Dulux. We chose colours that looked good together, some of which did end up varying slightly from the initial concept colours. We carefully rolled each paint colour onto each laser cut gelato. We chose the poplar wood as it is light in colour, which meant we usually only needed 2 coats. For the chocolate flavour, we stained walnut wood to give a beautiful rich chocolatey colour while retaining the beautiful wood grain, and used unpainted poplar wood for the vanilla flavour.
Each painted piece then received a layer of protective varnish. We had real issues with dust getting in the varnish and spent a lot of time picking it out before it set completely!
Glueing
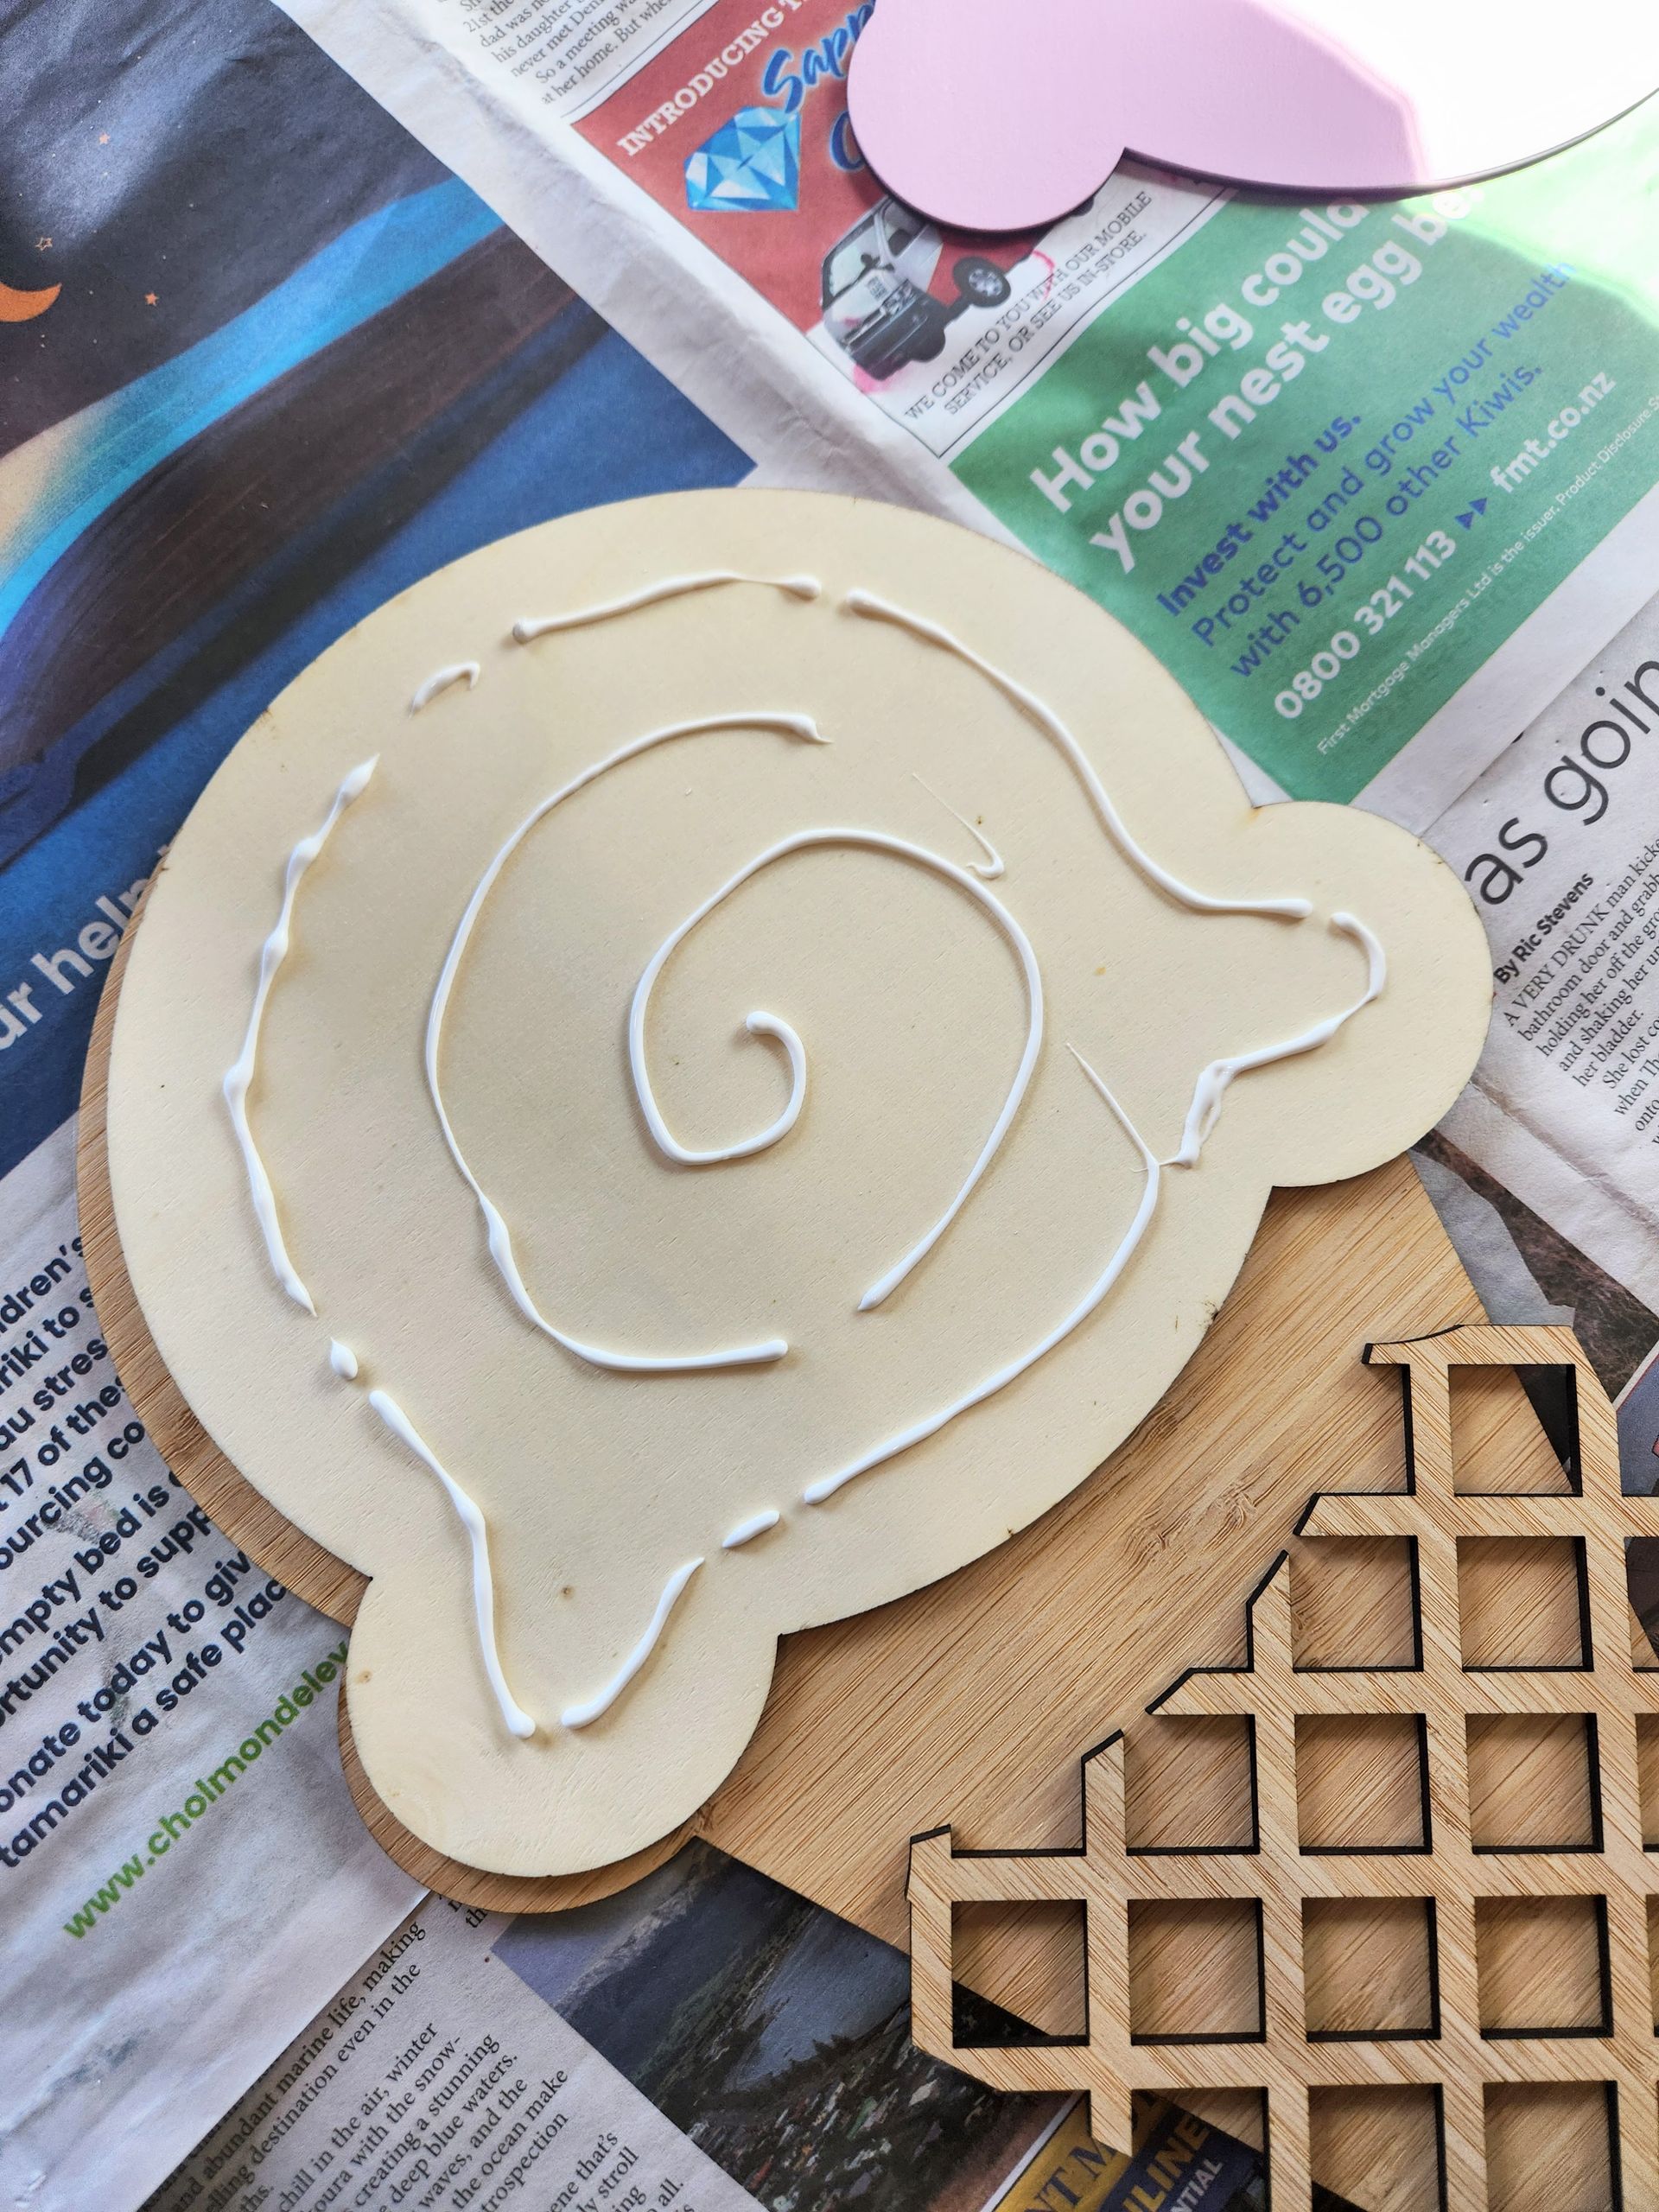
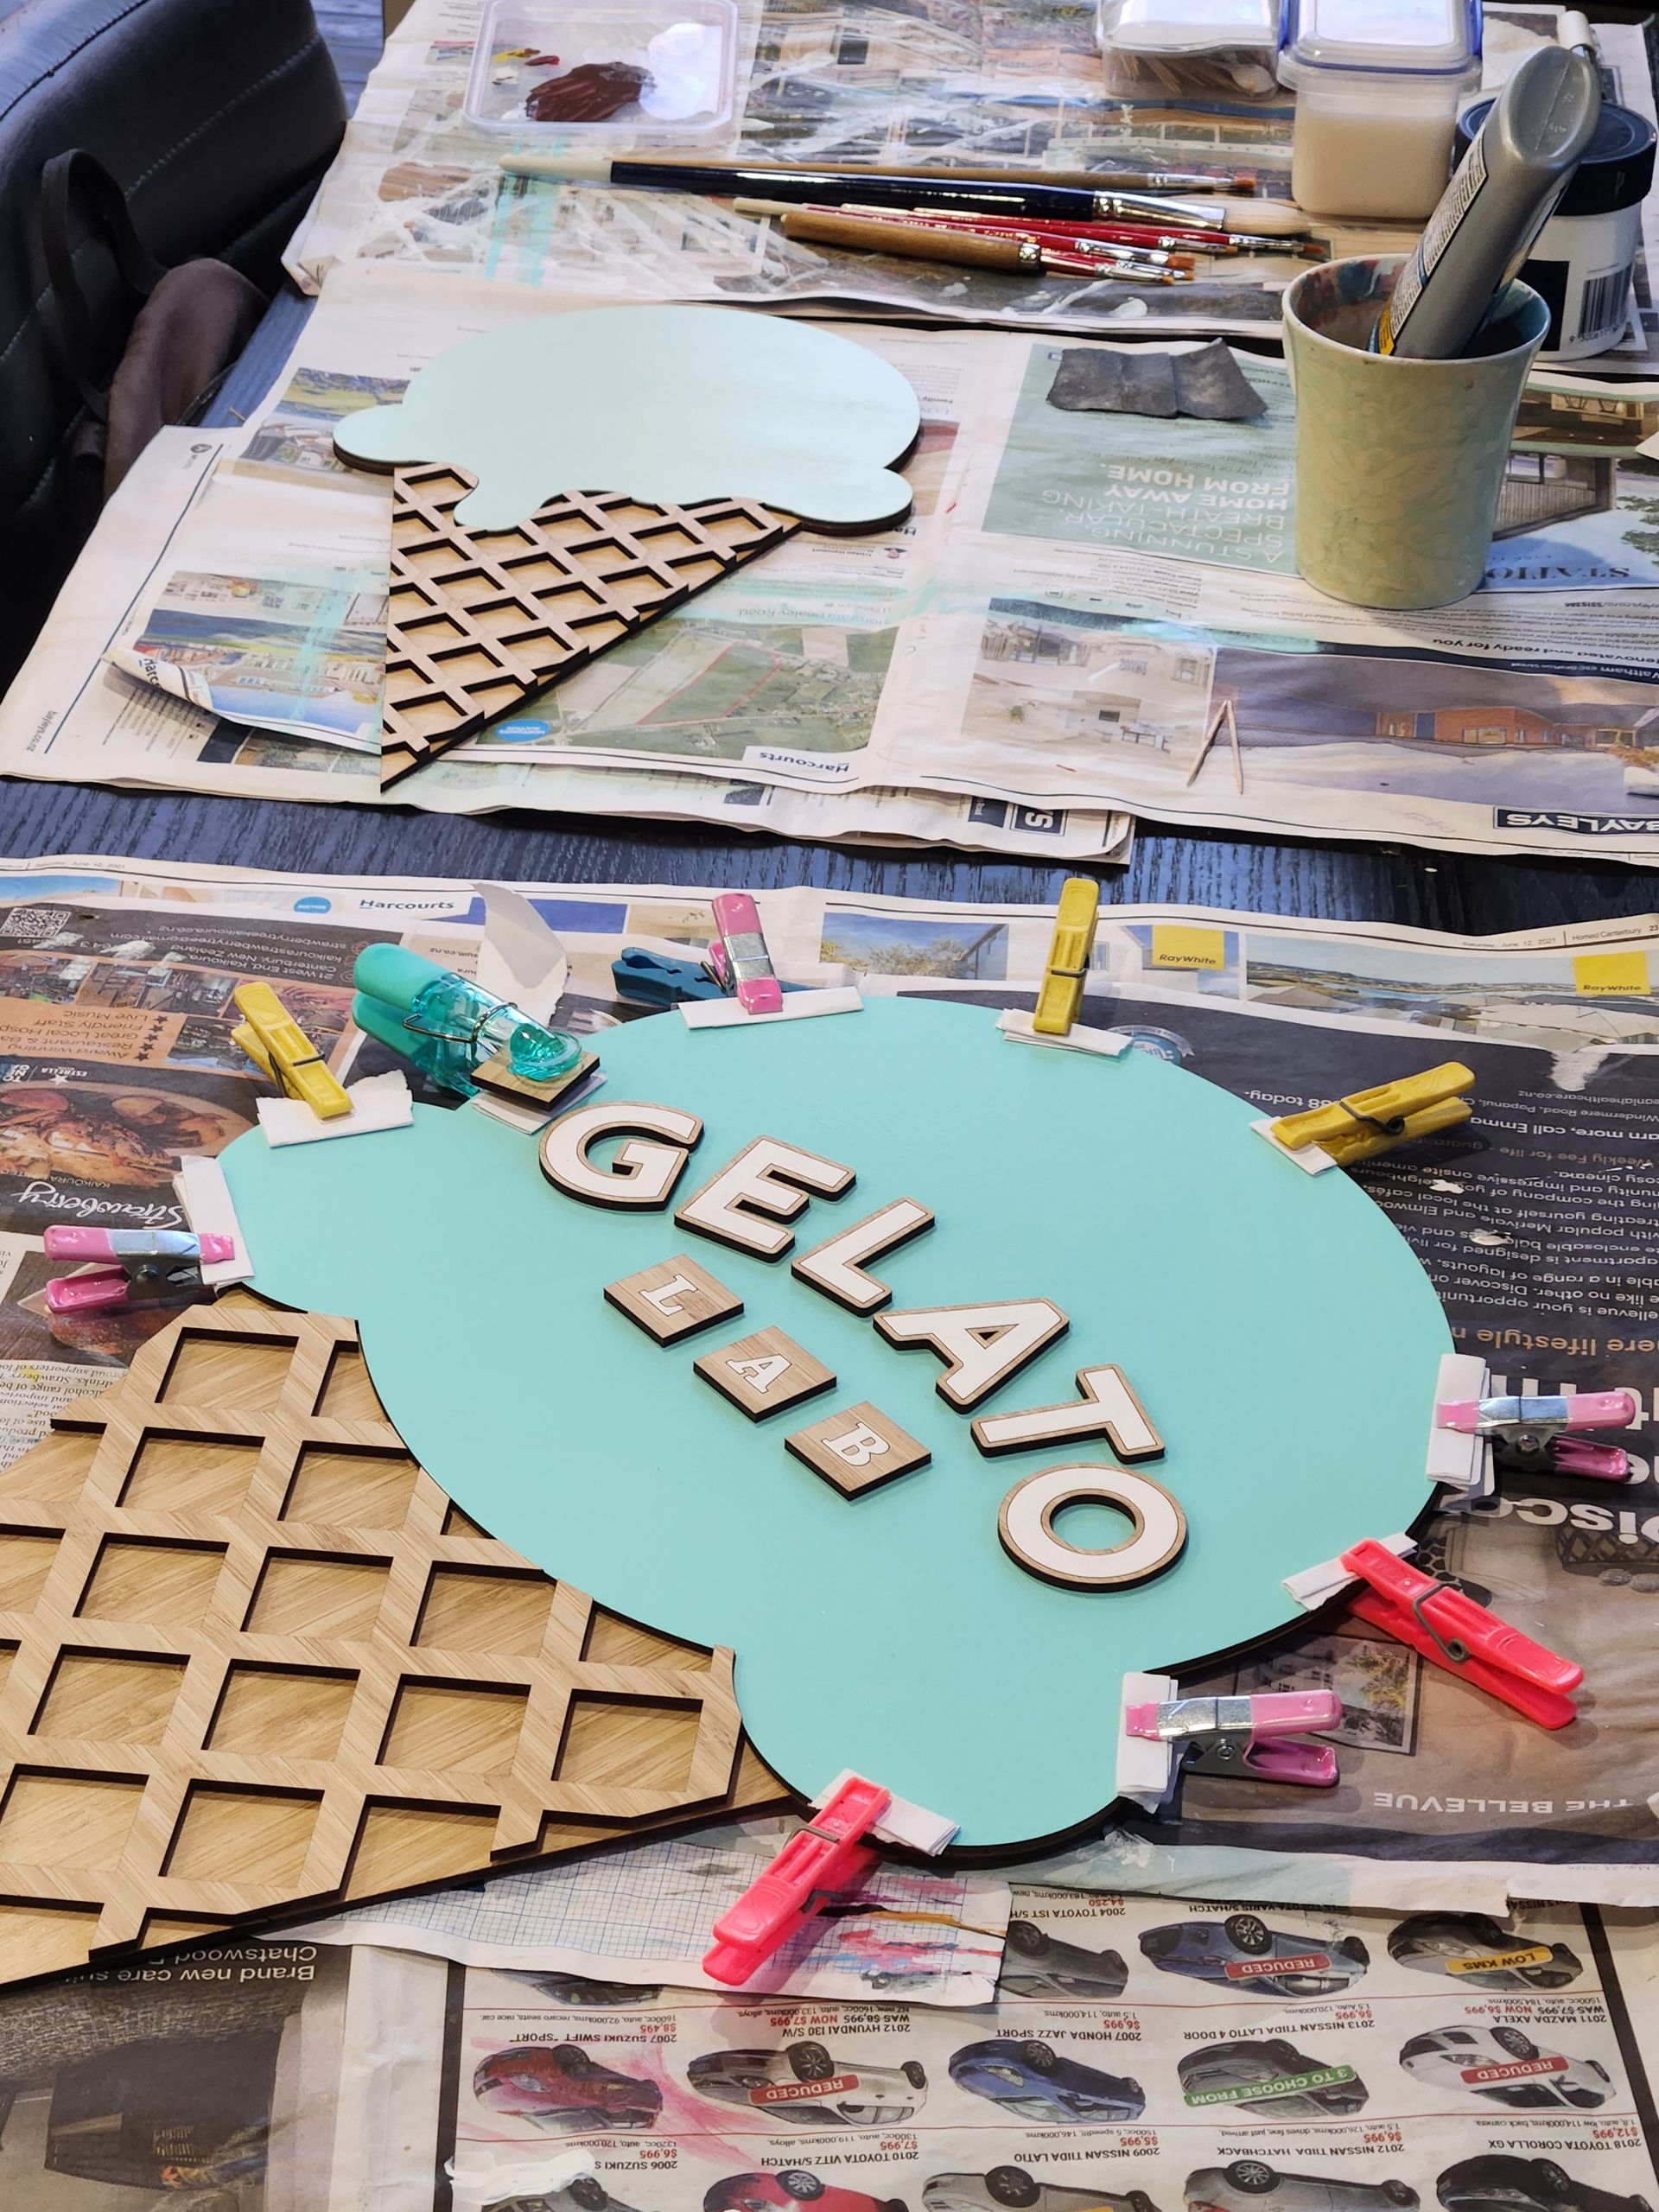
We used a strong PVA-like glue to bond our layers together. Wood can be quite difficult to work with in that it warps and bends, so we had to hold the layers tightly together using small clamps and pegs while the glue dried. We had to be careful not to let the pegs damage the surface of the painted areas. There was definitely a bit of touching up to do!
Working Smarter
As our laser cutter bed is limited to 600mm x 300mm, we had to come up with a clever solution to allow us to have the largest gelato artwork larger than what our laser cutter allowed. The top layer pieces were small enough to be cut whole, however the backing board needed to be broken up into 3 pieces. We arranged the joins in places they would be hidden by the top layers. We glued these backing pieces together using epoxy resin to ensure it was strong, then glued the top layers on which added further stability.
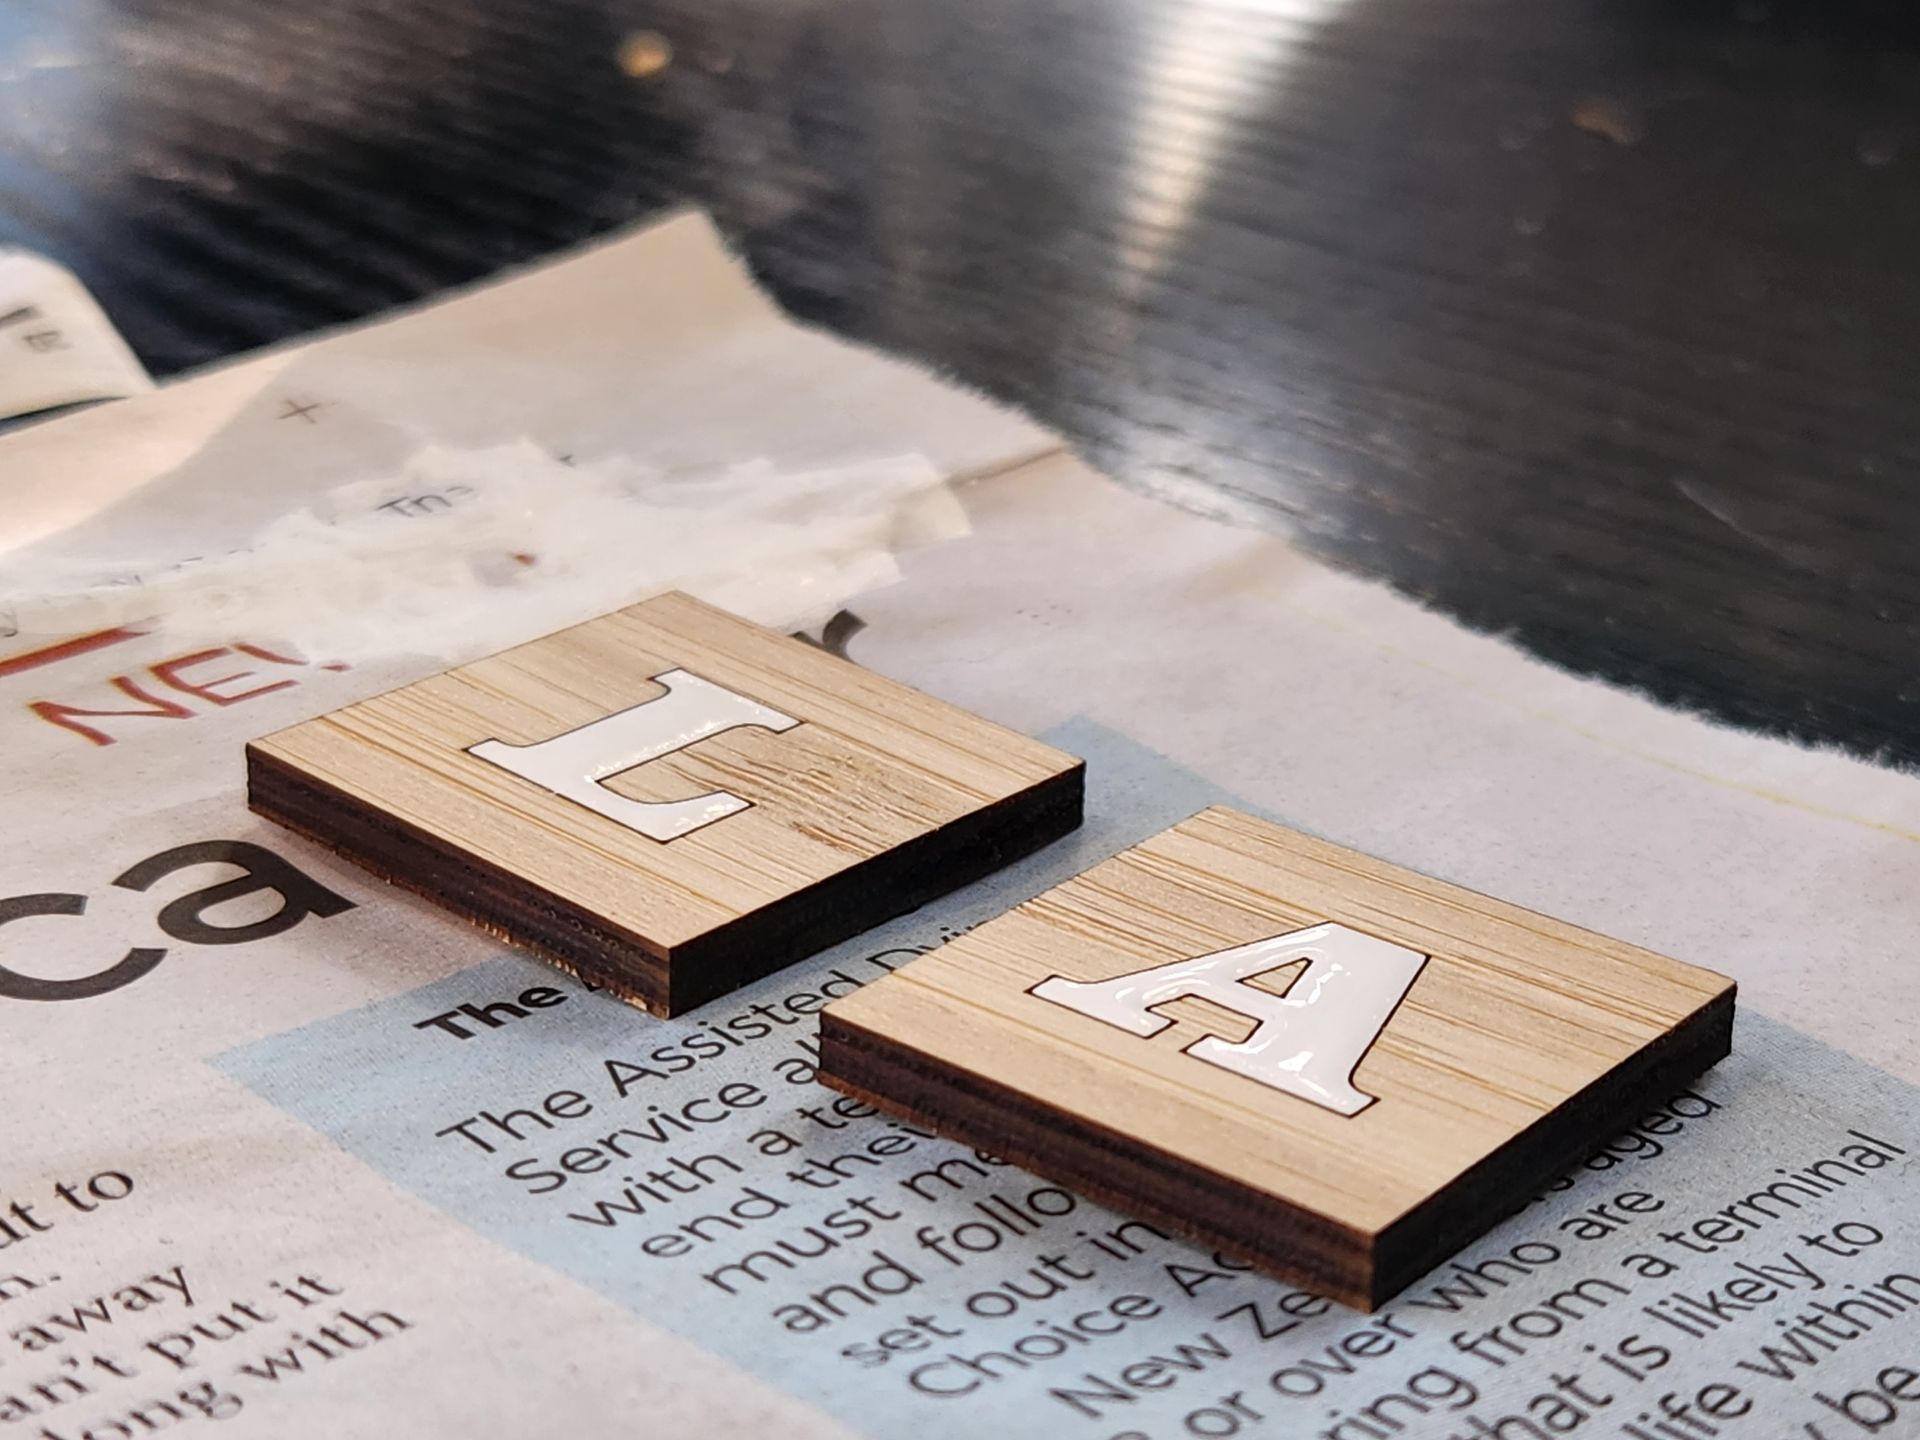
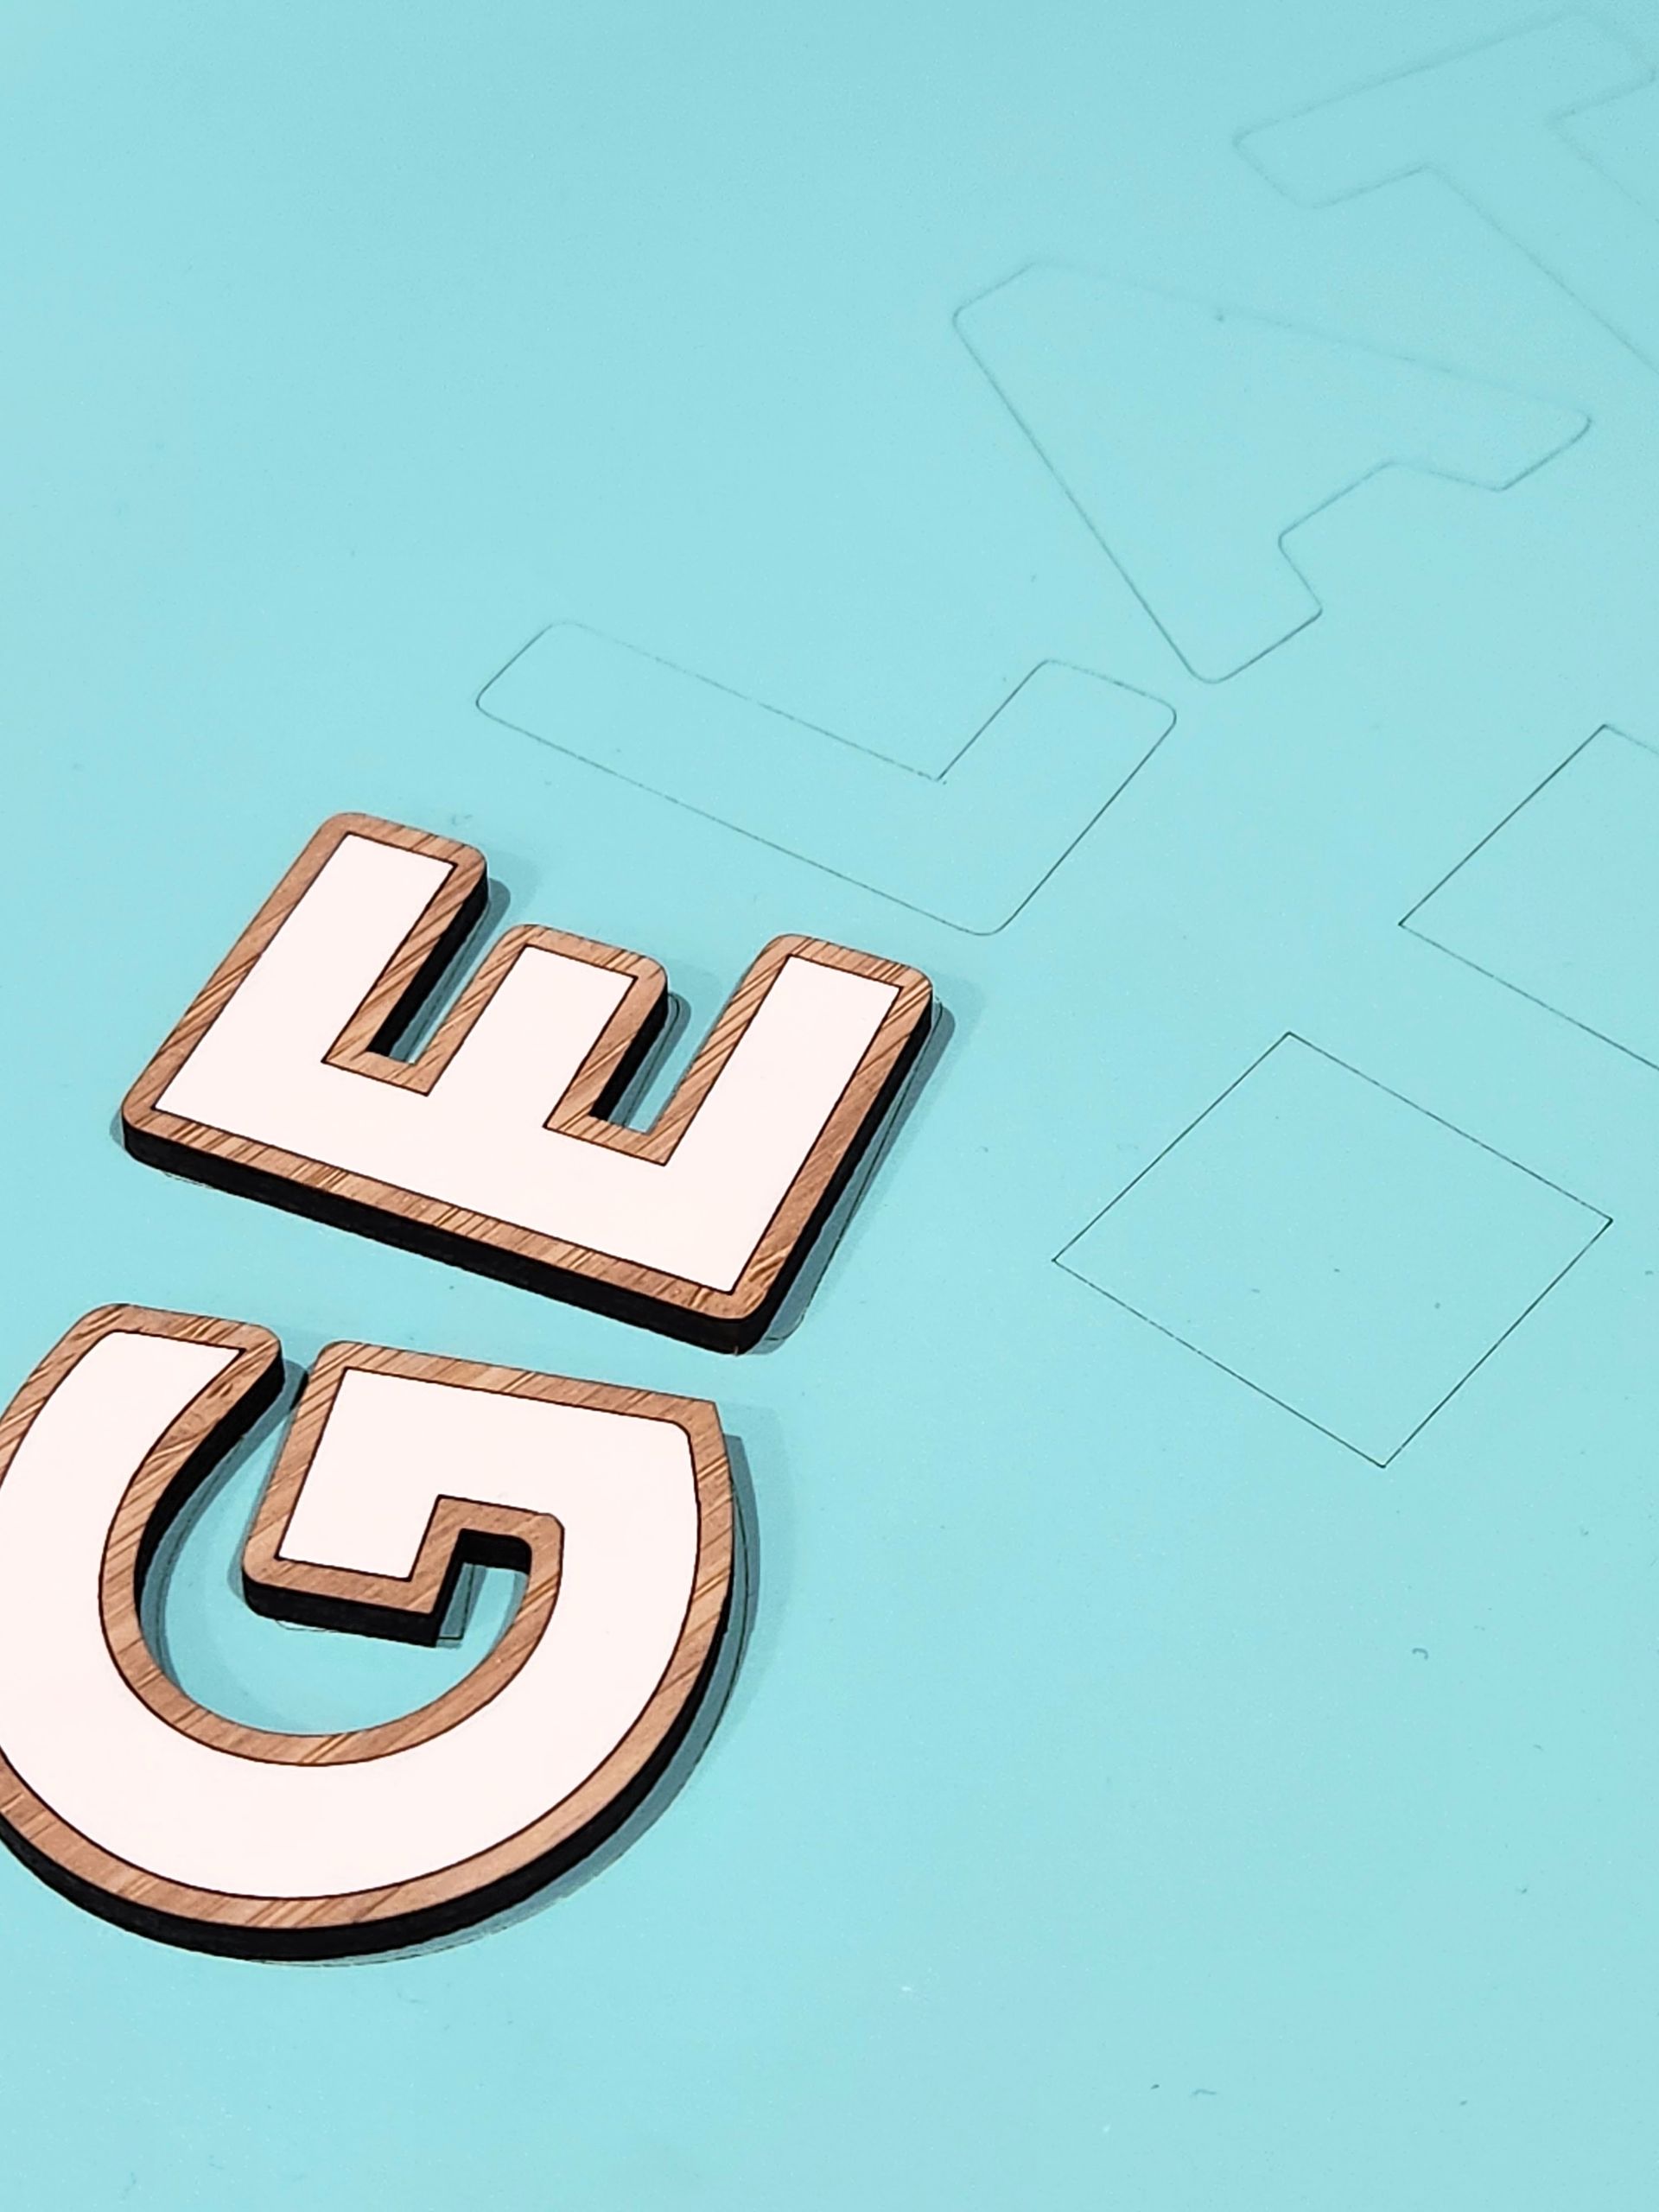
We also needed an easy way to figure out the placement of the logo's letting. To do this, we pre-painted the board before laser cutting this piece, and lightly line engraved the lettering into the paint to act as a guide.
Installation
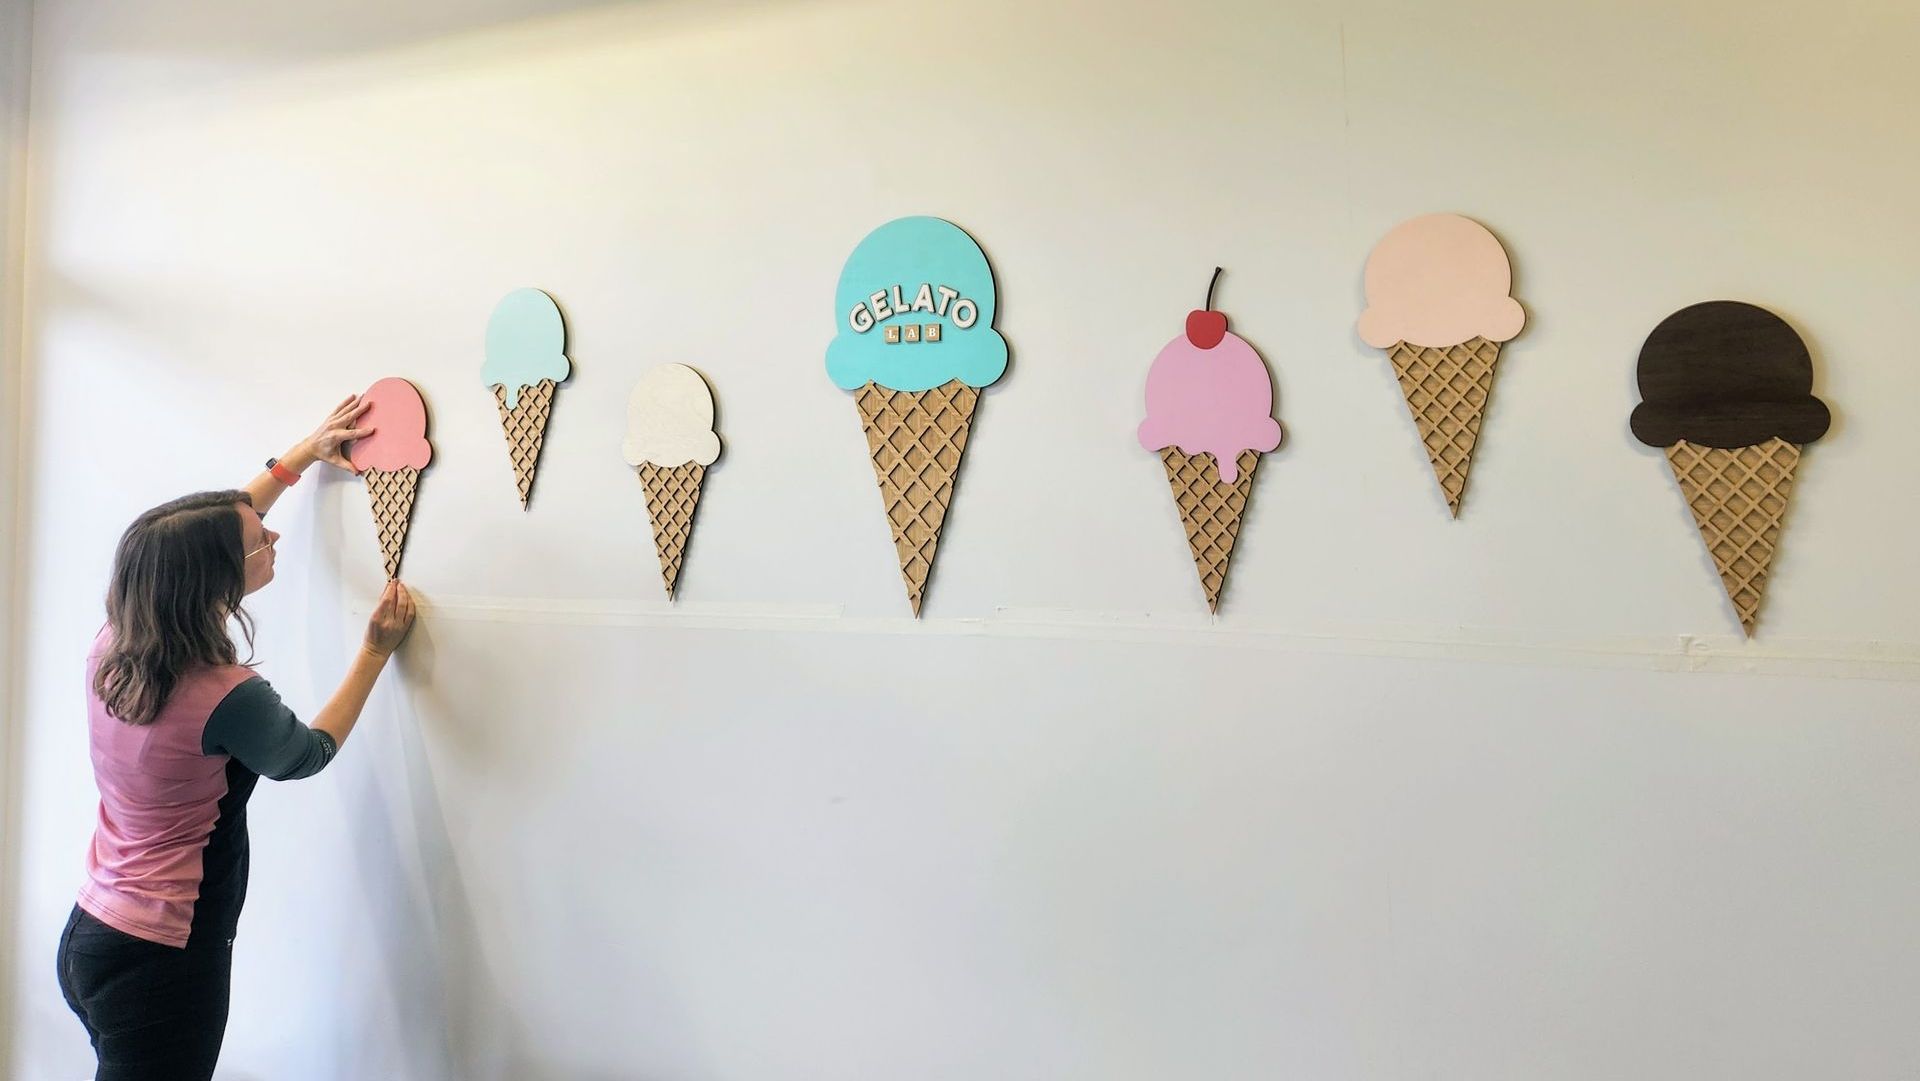
Once all 7 pieces were completed, we met with Pippa at The Gelato Lab for installation. As we had designed everything to scale on the computer, we were easily able to note down the measurements between each piece before we arrived, including the different heights (based on the bottom of the centre piece). We also created cardboard templates to make the process quicker and help us get each piece straight. Here you can see a line of masking tape acting as a guide.
We adhered them to the wall using 3M Velcro strips, as this would allow us to reposition them if we got the placement slightly wrong, and allowed them to sit fairly flush to the wall.
Final Result
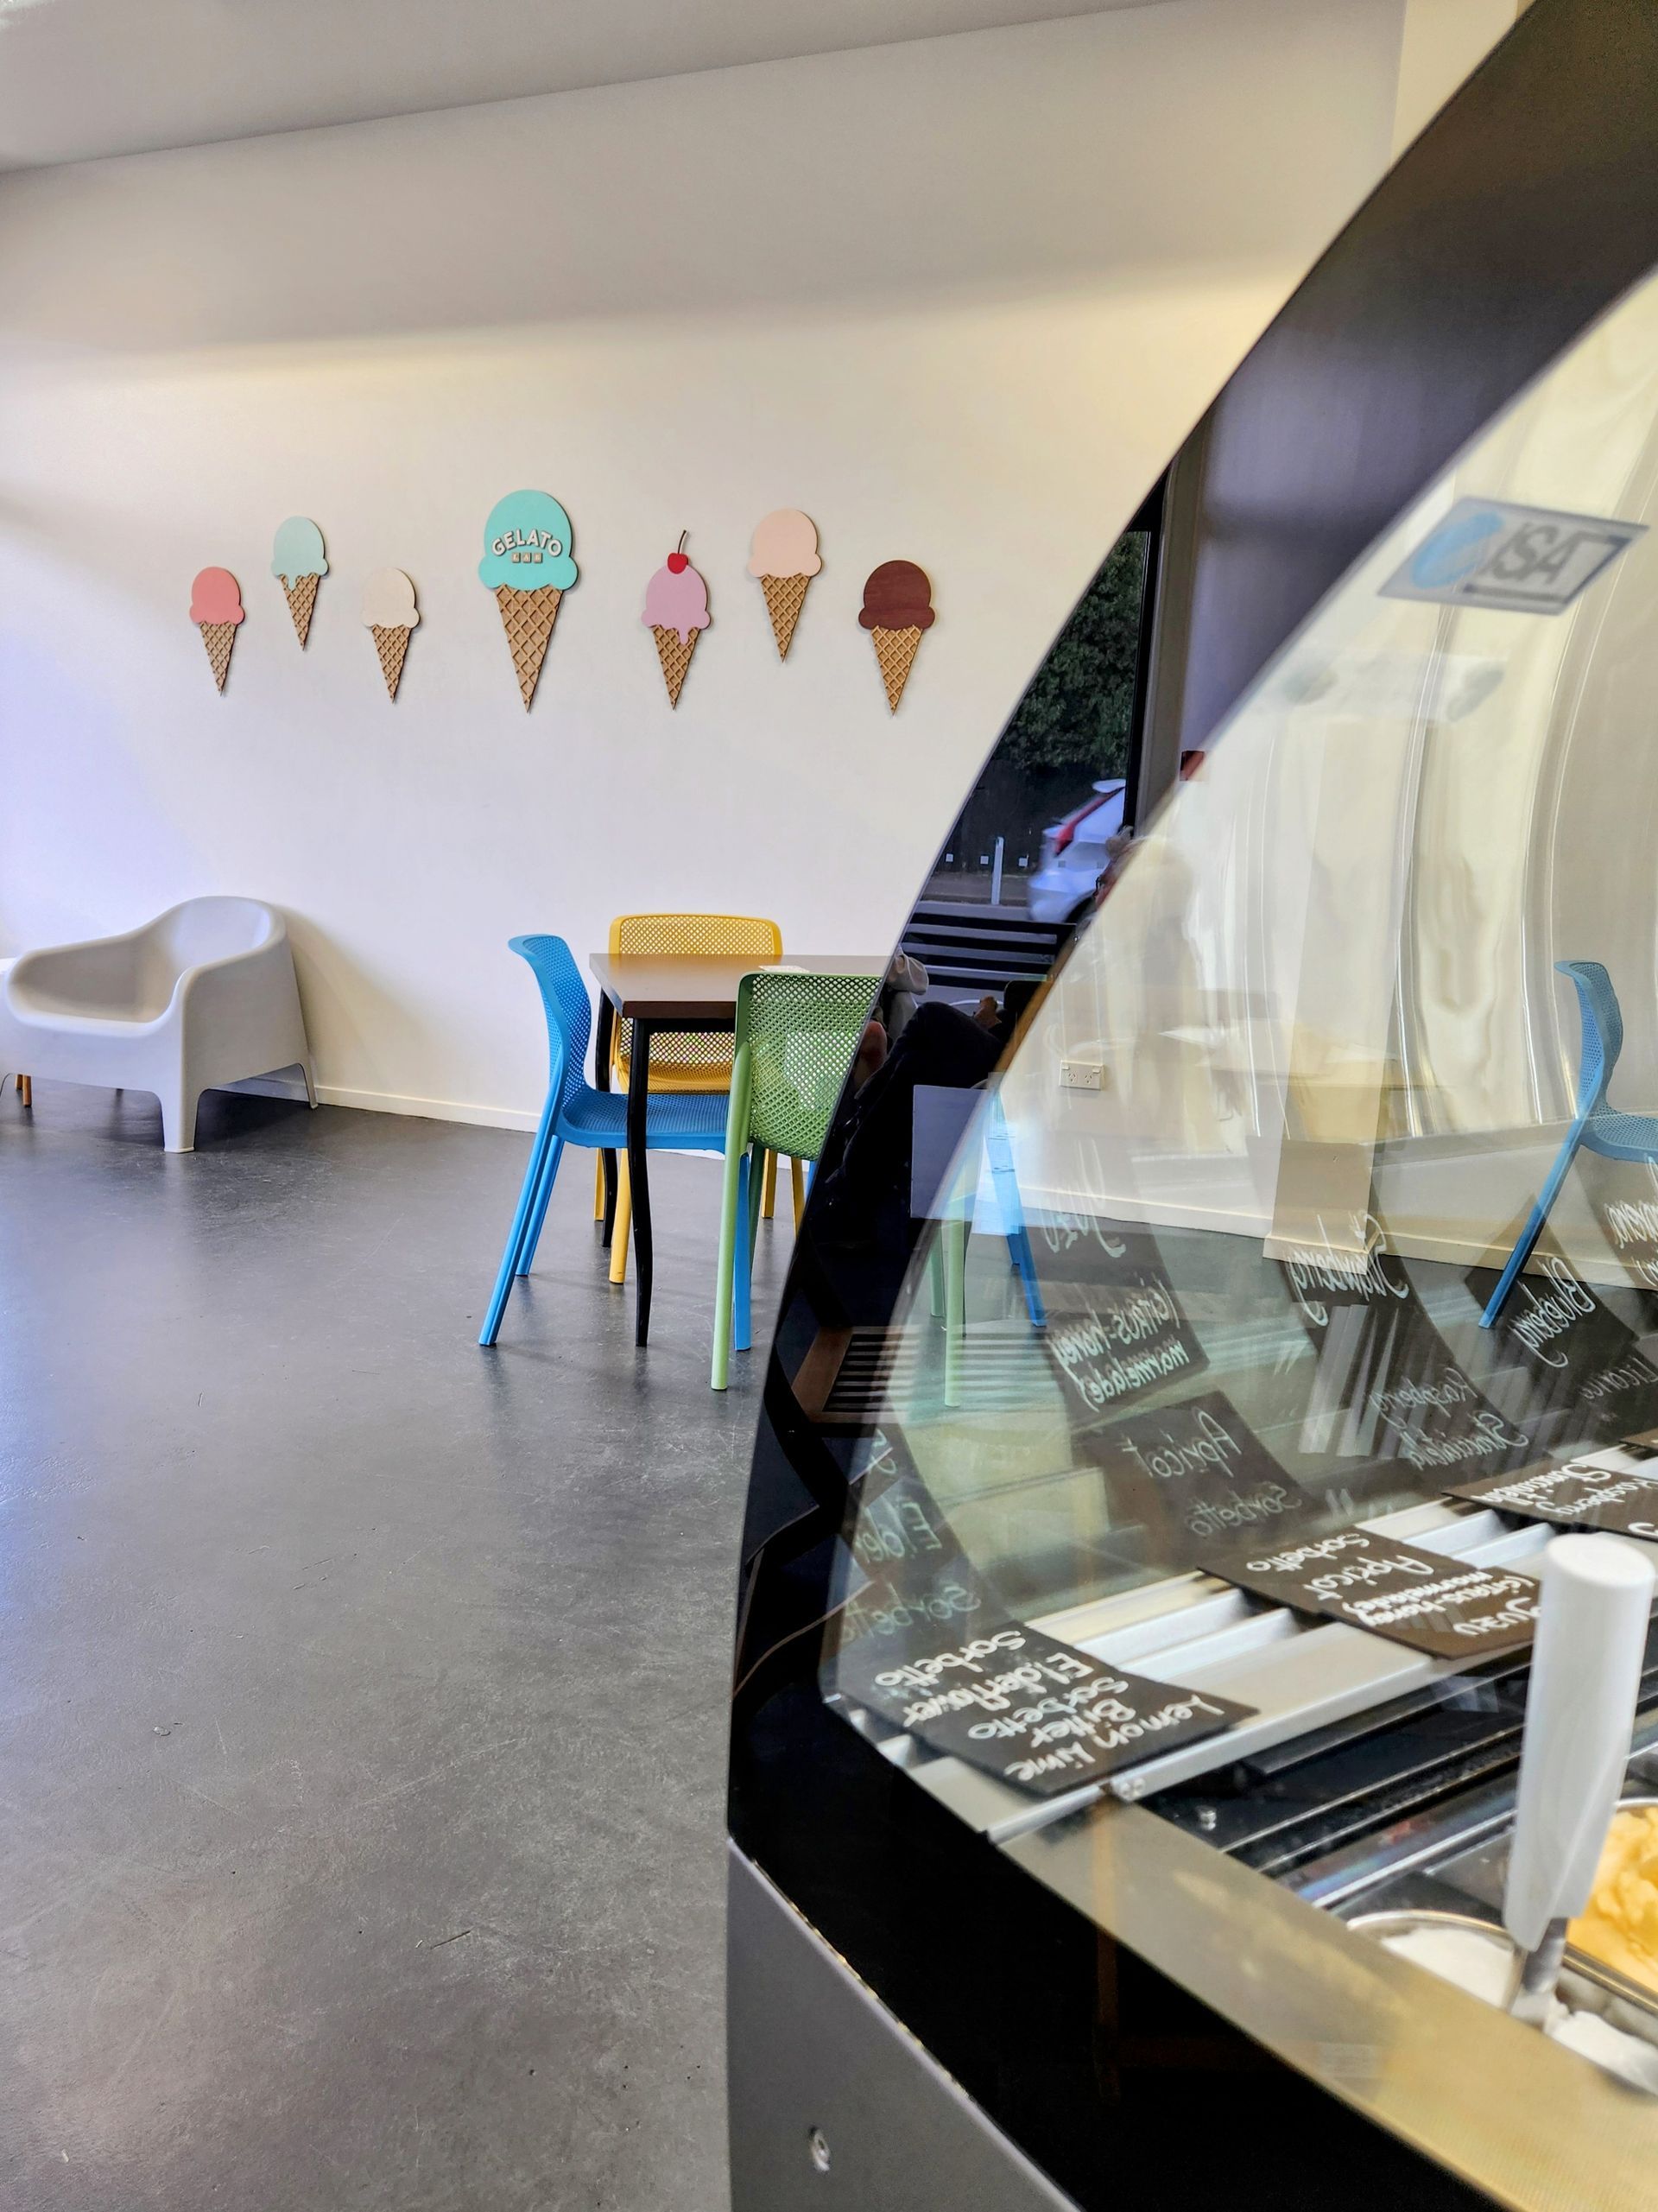
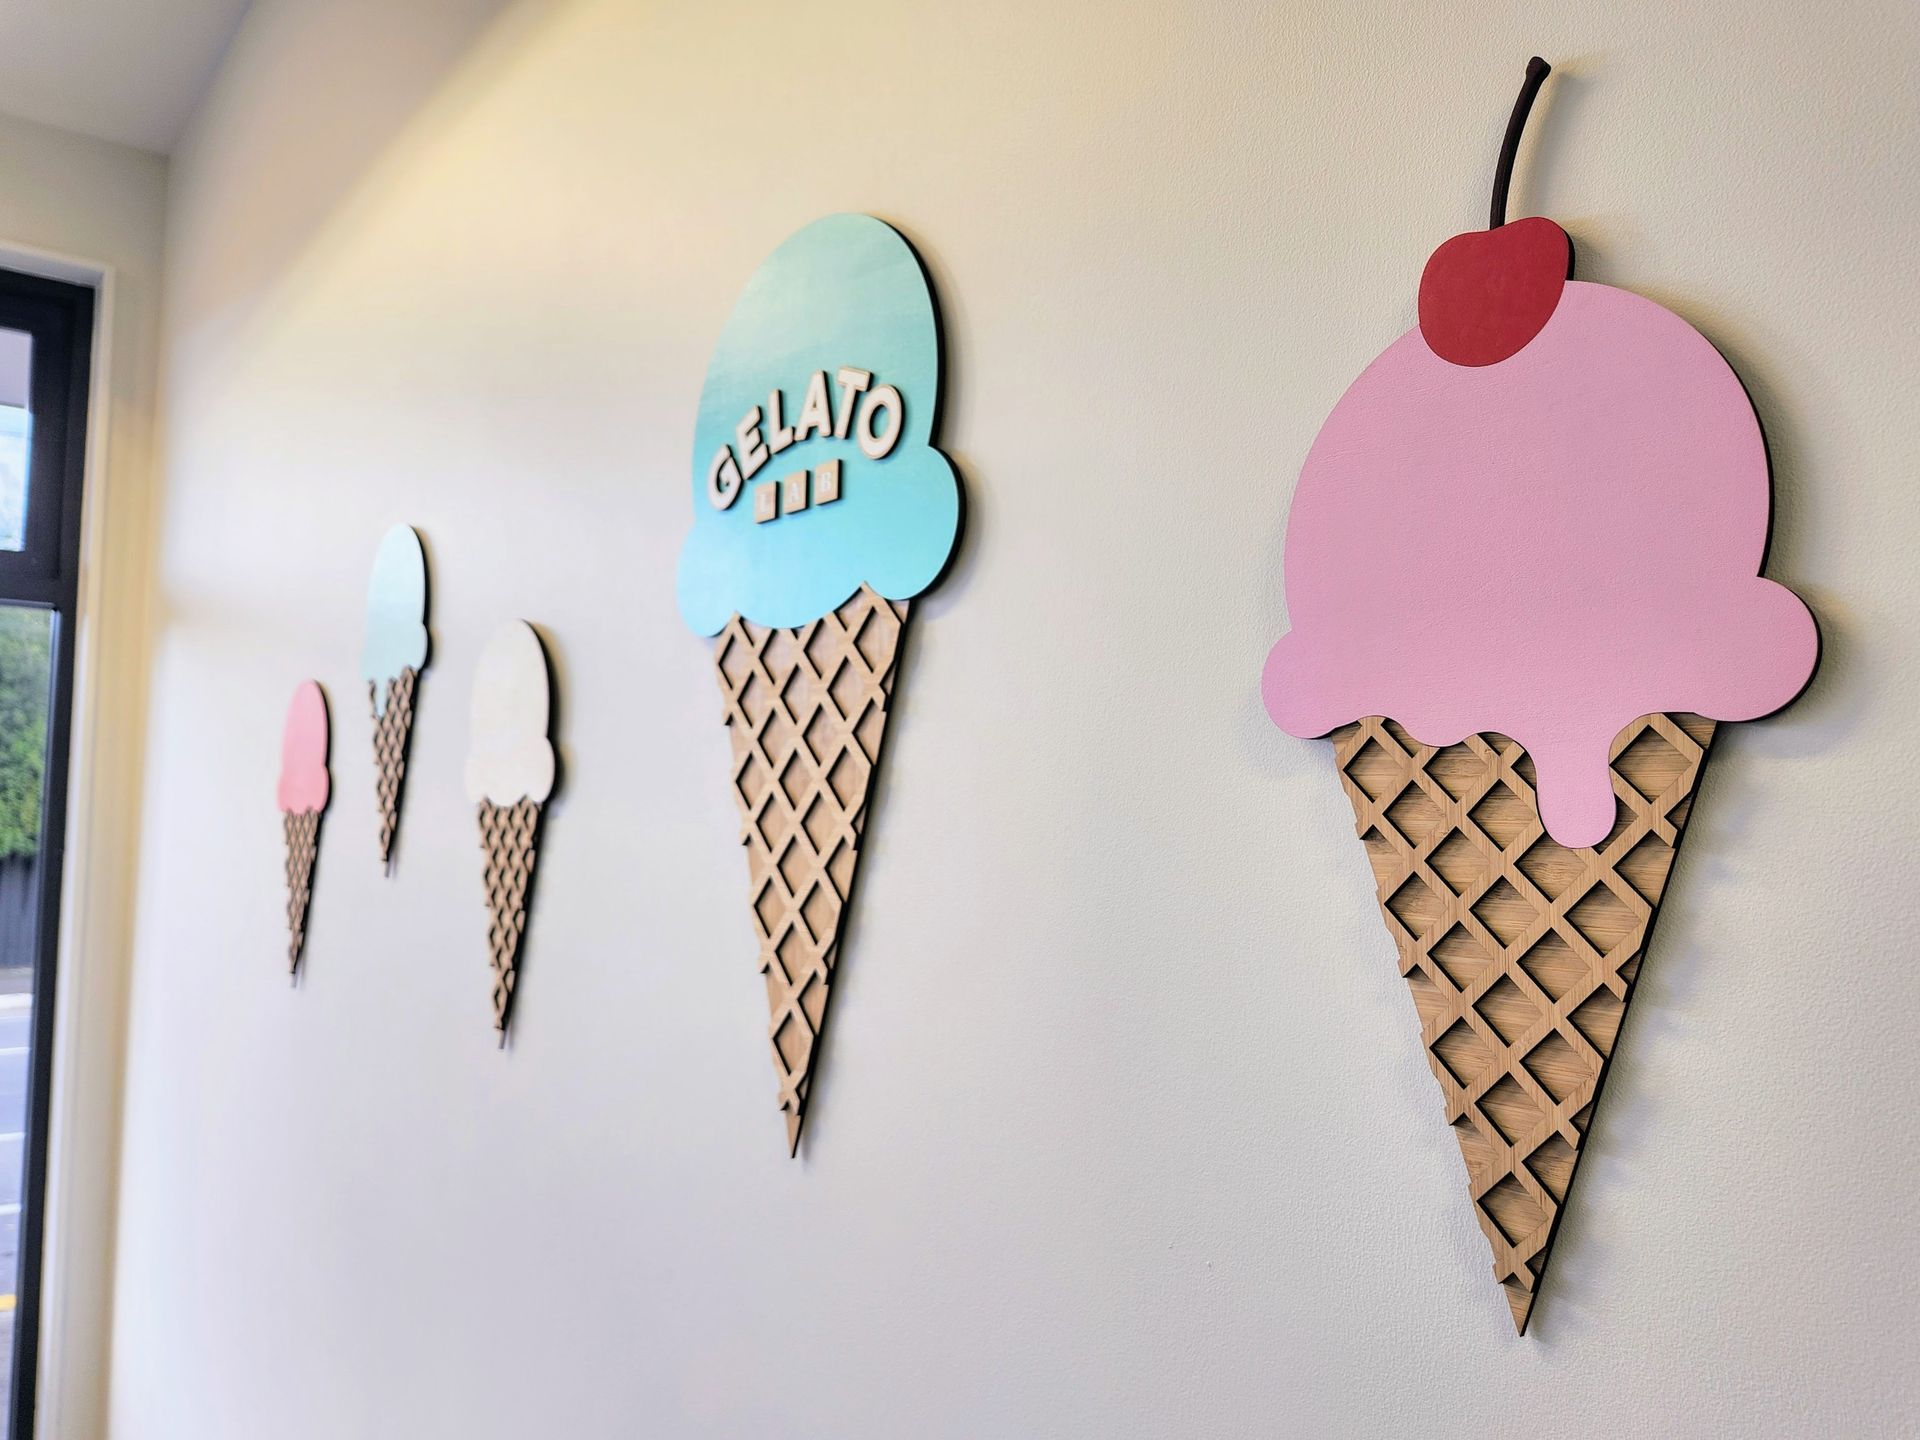
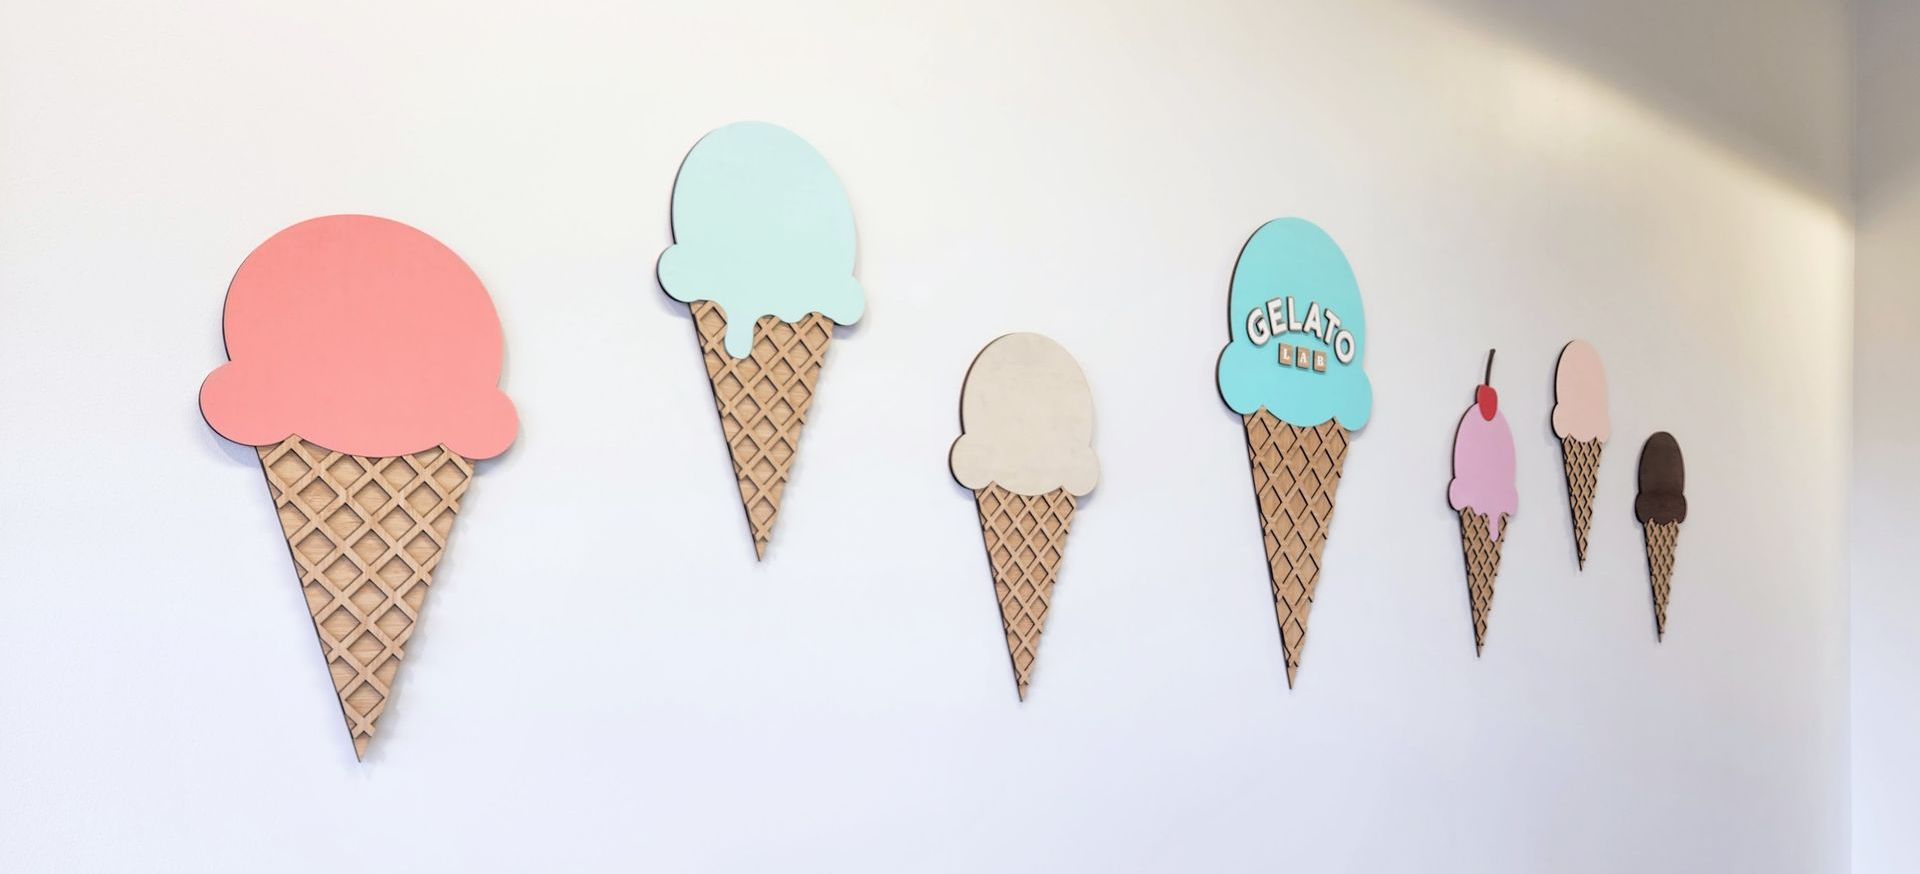
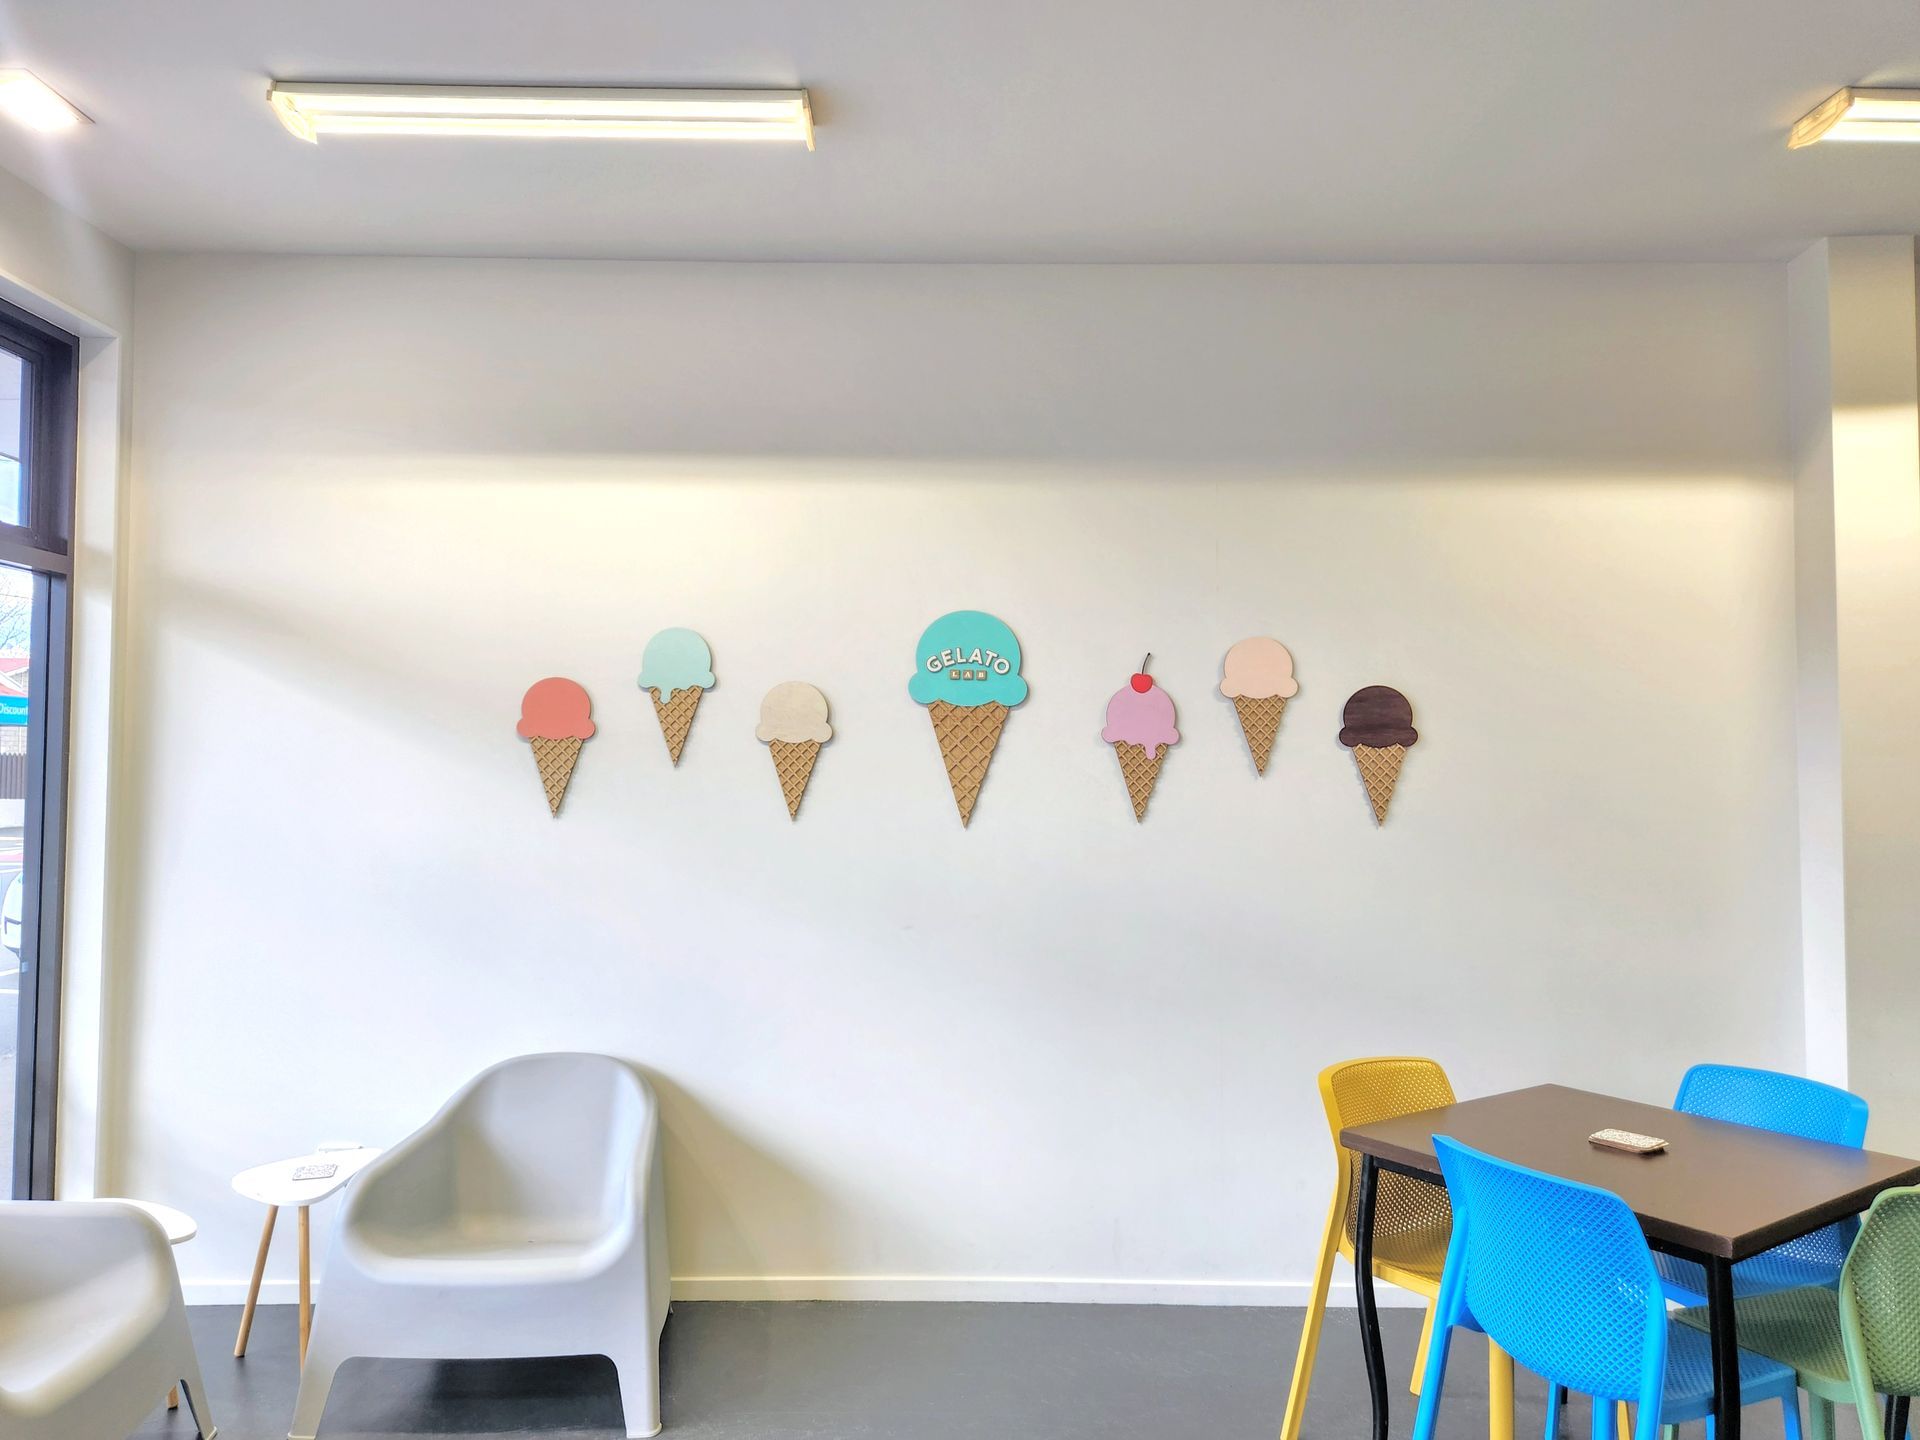
We are really happy with how our wooden wall artworks turned out! They look great on the wall and really add vibrancy and interest to the shop. Sending a huge thank you to The Gelato Lab for once again supporting our small business (we sell our ice cream earrings in their store!). This was our first large commissioned artwork and they supported us every step of the way.
Make sure to head down to 5/132 Opawa Road in Christchurch to check out our work while eating the best gelato in town!
